DIY Projects

Simple Watercolor Art For Fall

Fall brings the cozy feels. Hot apple cider. Pumpkin lattes. With it, an urgency to rake up the leaves, mulch the roses, and harvest the apples and plums

Sometimes when you are low on time and space and your creativity is going dormant it helps to have a super simple project to satisfy the artsy part of the heart. 

This is one of my favorite ways to give myself the gift of creating and also bless someone else.

What you will need:

*Watercolor paint and water. *Heavy paper or water color paper. *Paint brush. *Fine Sharpie Maker. *Lead pencil. *Eraser. 

I start by painting pretty designs on my paper. There is no wrong or right way to do this so just have fun. My favorite shapes are inspired by nature but you do you. 

Take your pencil and start drawing fun designs. Leaves, plants, cactus, feather, pumpkins, acorns, or whimsical woodland creatures. Pinterest has great ideas for this! 

Go over your lines with your sharpie and then erase any pencil marks that are still showing. 

You can enjoy these yourself or cut them down into cards for other people. Add words or doodles to make it authentic to you or encouraging to a friend. 

I love how quick and stress free this is! I actually worked on these in the truck while my two year old took a nap in his car seat. 

It’s a great way to relax and refresh your spirt as well. I hope you take time to enjoy a bit of creativity today in the way that suits you best! You are worth some extra love and attention! 

I’d love to see your artwork. Feel free to leave a picture in the comments! Happy weekend!

DIY Projects

Color Your World.

Recently I was introduced to crayon art and I have become slightly addicted 🙂

There’s so much fun involved but it only takes the simplest of supplies and watching the colors liquefy and emerge and blend  is absolutely fascinating and delightful!

  
It reminds me of life. 

Recently I sat with an elderly patient who had lived for over a decade! Their thoughts rambled all over the creation And I  wondered if it was all bits and pieces of their years of living. Like this ….

“There’s only one life. Go to Paris.”

Or this “it’s time to expire. Retire. Join the choir.”

Maybe they were a poet in their early days 🙂

They lay awake most of the night saying random sentences that rambled all over. They asked for Apple pie and cream and picked chicken out of the air and thought they were eating it. I saw colors all through their speeches and random thoughts. 

Everyone warned me about this individual. How combative they could get. I always like to pray on my way to work and even during the day before I am assigned my shift. I pray that God would put me where He wants me and help me share God’s love to anyone I care for. I sat there in the room with this elderly person and prayed that God could keep them calm and help them relax .it wasn’t all roses by any means but God totally was with us and the night went well. He colored my world with grace and answered prayer!

One of my friends here at the hospital tells me how she prays Gods angels around and with her as she enters ‘difficult patients’ rooms and even as she works up and down the hallways. Believe me, she is one of the most highly respected CNAs at this hospital. Not only can she often calm people, she also ‘bends over backward’ to make them comfy. Like doing laundry for some long term patients that involved going to an entirely different tower here at the hospital and using a tiny washer in the pediatric unit. She is coloring her world. 

We all color our world in different ways. 

  
Like my four year olds smile and his frank  funny outlook on life. His hugs and snuggles and exuberance over playing ball in the small back yard and insisting you threw ‘a ball’ ! NOT a ‘strike’! Or the way he tries so hard to be independent and songs little songs to the freshly planted seeds to make them grow. Colors. Colors everywhere. Every day.

  
This is one of the colors I want to paint my world with. The color of prayer. 

  
And the color of words of life and grace to everyone around me. In my words and in my thoughts. 

And of course….the color of LOVE!

  
This is one of my favorite pieces.

I need to constantly be reminded that God delights in His children. That the color of Love is never out given.

Go ahead…. color your world! 

And now just a few crayon art tips…..

I peeled the paper off the crayons by slicing the back of the paper with a razor and popping it off. They melted much more nicely 🙂 Pintrest is loaded with amazing ideas for crayon art and gives good directions.

Here are a few of my tips. 

– Crayola crayons make a thicker wax. Other cheap brands make more of a water color type wax.

– Dollar Store crayons (with no writing on the crayons) don’t melt. 

– use hot heat with high blow drying unless you want more control….then slow down to low speed.

– have plenty of newspaper on hand to catch all the splats and drips. 

– it may take longer then you think for them to melt 🙂 

– an easy way for kids to do it is if you color boldly on canvas then let them blow dry it. The colors melt without so much splatting.


One more thing…wear old clothes or old pjs 😉 unless of course you want crayon art on you by accident. Or maybe you are just a bit less messy then me 😉 

DIY Projects

Easy Christmas Light Canvas

To my friends who wanted step by step directions on making this super simple Christmas canvas…

Here are the supplies you will need.

16×20 in. white canvas

(available at Michael’s and other craft stores)

string of Christmas lights

( I used a 50 mini light string. you could try 100 count but it may be ALOT of lights! 🙂

Xacto pen, utility knife, skewer, or sharp knife

(to poke a small hole)

Silver Sharpie

Hot glue gun and glue

Lettering

hutch and believe 066

The first step is to decide on a word you love. You can put it anywhere on the canvas. Center, off center, top, bottom, left, right..you get the idea 🙂

I have seen this done by using a lovely scripted word sticker. If you don’t feel steady in the hand today or have a lovely word on a sticker, you can always pop it on.

If you are free handing your letters, it may work best to start in the middle of the canvas with the middle letter(s) so it is spaced evenly. Be sure to use a pencil for the first script so you can make adjustments.

hutch and believe 067

Finish out the word until you have it like you like it.

hutch and believe 068

Now comes the fun with your silver sharpie.

hutch and believe 069

be creative and add your own personal flair. There are so many fonts you can choose from!

Now flip the canvas around, hold it up to the light, and do a light, rough trace of the letters so you know where NOT to place your lights.

hutch and believe 071

Now you are ready for your light placement. Try to stay away from ruining the script.

hutch and believe 072

This part is a bit awkward so do it how you like, but this is the best way I found. Start up in the corner with your string of lights. Make sure your ‘plug in’ end will be at the bottom of the canvas. (Unless you want it elsewhere:) Make a small dot with your pencil in the upper corner where you will place your first light. Take your next light and place it a comfy distance from your first. Do not stretch the string of lights, or it will not fit nicely in the canvas. Jot a number at each hole so you can easily place your lights in the same hole later without trying to remember which order they fit best in.

hutch and believe 070

Stagger the lights instead of going in straight rows to get a more creative look. I put some of mine in the middle of the lettering and also as close to the edge as possible to give it more ‘light coverage’.

After you have worked your way to the bottom,, take your SHARP and poke a little hole in each pencil dot.

hutch and believe 074

You should have 50 holes. Now flip the canvas around  and draw a snowflake over each hole with your silver Sharpie.

hutch and believe 075

hutch and believe 076

hutch and believe 077

No two snow flakes are alike, you know 🙂

Now you are ready to poke a light through each hole. If you numbered your dots this part will go much faster 🙂 Push each light through it’s hole. It should look something like this when you are done.

hutch and believe 078

I like to use my hot glue gun and glue each light into place so it doesn’t pull on the canvas, and it STAYS where it should. I had no problem with my glue melting later when I turned the lights on, just in case you wondered…like me 🙂

And here you’ve got the front…

hutch and believe 083

and lit up…

hutch and believe 084

and up close 🙂

hutch and believe 081

Happy crafting!

This was one of my favorite projects. EVER!!! 🙂

I’d love to see a photo of yours!

DIY Projects

Easter Art

When Linda invited me over to her house today to make truffles, I had no idea how I would fall in love with eggs.
Yesterday was a tough day all the way around for me. Although it was gloriously spring, my heart was so sad. Just so sad. Sometimes I get tired of being sad. Even when I laugh and enjoy things, I am sad. Maybe someday the sadness will leave.
But then again, I want to hang onto it. Because it is a link to my daughter. I’m her Mommy. And although I knew all along she was actually God’s, she was still born from my heartbeat. And even if I know she is supremely happy and feeling better then even the healthiest person on earth, I am still her Mommy. And Mommy’s have this sixth sense that is made for their children, and when that sixth sense gets tampered with, or is empty completely, there can be a lot of sadness involved. ALOT of sadness. So don’t freak out or think you have to fix me. Sad is just part of my breathing right now. Even peaceful sadness can be relaxing, I have found.
Back to falling in love with eggs. And truffles. I wanted to learn to make truffles like Carolyn does. They are absolutely thrilling. She taught me how today. I took a kaleidoscope photo to tantalize your senses. These are the peanut butter eggs we made.

20140414-202540.jpg
And another angle….

20140414-202615.jpg
So yes, these wonderful bits of truffles were amazing! But then we did this really fun thing with hard boiled eggs. I’ll post the super simple recipe at the end…

20140414-202801.jpg

20140414-202812.jpg
Doesn’t that look like so much fun! Kobe was totally in his glory! We made all kinds of marvelous marbled effects…just by dunking them in liquid!

20140414-202950.jpg

20140414-203000.jpg

20140414-203035.jpg
It’s the first time I’ve done this style of Easter eggs. I’m sure I wouldn’t have tried it on my own this year. But I am so thrilled to have these bits of beauty in my house! So thankful to Linda for having me over and handing me creativity. It’s just what I needed today.
Now…for the recipe…

Marble Easter Eggs
A dozen or more hard cooked eggs. Let them cool!
Fill three coffee mugs 2/3 full of boiling water.
Add 1 tsp. food coloring and
1 tsp. vinegar to each cup.
Let the water cool.
Add 1 tsp. vegetable oil to each mug.
Dip your cooled eggs into a mug. Lay it on a towel, and wipe it off.
Dip it into another color. Wipe dry again.
Use different layers of colors to create different effects.
The more you stir the water, the finer marbled the egg coloring will be.
Store eggs in fridge when not displayed
(although they say they never had them rot out of the fridge:)

20140414-204445.jpg

DIY Projects · Kid's Fun

Terra Cotta Christmas Crafting

Christmas decor 022

The Christmas countdown has begun.

I am having a very hard time getting into the Christmas spirit this year. This makes me sad. Maybe all these weird confusing swirling emotions that I can’t really place my finger on  will gradually settle to rest like the ending of the blizzard winds.  If I keep hoping and looking for cheer and gladness; if I keep believing;  the gift of our Saviour’s  love WILL grace my life.

I want to enjoy the moment and live with happiness in my heart and a clear view of God’s blessing in our  life.

We don’t have a nativity scene and I really wanted one to tell my kids the Christmas Story. Lucky for me, Pintrest was just a few clicks away. Easier then a bundle up and shopping trip. I bet it’s quite a bit cheaper too 🙂

I had chanced upon a whole box of terra cotta pots one summer in MT at a yard sale and bought them with happy thoughts of painting them into adorable creations. Now I had the perfect plan for them!

Christmas decor 037

A cardboard box, (one of many of Kierra’s empty formula boxes:) scraps of fabric, crafter’s paint, extra Christmas ornaments, and of course the glue and bits of string and ribbon.

My glue gave me awful issues. I ran out of hot glue immediately. So I used a bit of crazy glue (and still have remains on my finger 🙂 then I switched to elmer’s glue.  I  painted it in a thin layer with a paint brush since I really, really wanted this thing to hold together! lol

Joseph got a blue coat, Mary a yellow coat, and baby Jesus a kingly purple coat.

Christmas decor 038

Christmas decor 039

I used a cotton ball for the baby’s head 🙂 We bundled them up warmly, and added white angels with musical fabric and ribbons for halos. Then we made them a little camo cave, and added dry beans for a walkway and a ‘fireplace’ 🙂 We’ll see how long it goes until Kobe has all of them picked off. I painted a path of glue on the fabric to make the beans stick. They are just a bit too tempting for him to peel off and feed to the ‘horsh’ and the ‘baa baa’ 🙂

So here’s our little table top nativity scene.

Christmas decor 042

Christmas decor 044 Christmas decor 045

Perfect for little fingers to play with.

Christmas decor 046

I found one more cute use for the terra pots .

Christmas decor 035 Christmas decor 033

Christmas decor 031

They add some wonderful color to our house! I used a long wooden skewer to stack the ornaments on. The skewers had a pine cone on one end from a previous life,  which actually made it easier for me. I have seen this done with knitting needles as well, but since I don’t have the slightest clue how to knit, there was none floating around my stash of hoarded odd things.

I think I need to go mix up a batch of Christmas Sugar cookies since our ‘all -day- waited -for -snow’ has began to fall.

Yesterday, I had Kierra to the doctor with a few minor concerns. He thought she may have a pneumonia type infection beginning and also noticed she had  considerably more  fluid retention then a few weeks ago, so we plan to stay snug and warm at  home and hope the medication and our loving Father brings relief for her. Thankfully, she doesn’t feel bad today.

Stay warm and blessed this weekend!

Christmas decor 025

DIY Projects · Kid's Fun

The Festive Scarecrow

We needed some autumn colors in our house. Some country mood. Some crafty project. So we broke out the crate of scrap paper from behind the bed. (it’s no wonder it kinda collects dust bunnies since it’s a stand on your head, stretch your ribs, blood rush to your face kind of  dive to haul it out!)

I had seen an idea to create your own scarecrows with old Pringles cans on a web sight recently. Since I didn’t have the patience to go find it again, I gathered supplies we had in our house and relied on my memory and imagination. We spread out on the living room floor under the furiously whirling ceiling fan and picked out bright sheets of paper. I love doing crafts with my kids, but their attention span seems a nanosecond. Maybe that’s a slight stretch since a nanosecond is actually only 1 billionth of a second, but you get the idea… sometimes it feels that way!

004

Out of the tearing paper and ‘It’s OK, Kierra, just relax.’ and the ‘Kobe! Do not play with glue’…

These little guys emerged. I was slapping them together at the end, so I’m sure if you have creative kids and more time and concentration, yours could evolve quite a bit more handsomely 🙂

036 037 038


1. Use an empty Pringles can for the body. (we used an empty powered drink tube)

2. Cut paper (or fabric) into strips and glue around the can to create the body.

3. Use burlap fabric scraps or torn paper scraps to patch the clothes.

4. Add a mouth, nose, and eyes.

5. Add suspenders or buttons or both.

6. Crumple a wad of paper and tape it to the lid of the can.

7. Cut a big round circle of paper (or felt or burlap) for the hat.

8. Cover the lid (including the paper wad 🙂 with the round paper and secure it with a piece of string. Trim off any excess hat paper and turn up the edges a bit to create a brim.

9. Use long strips of paper for the arms. Fold a small tab over on one end of the strip. Glue it to the side of the body. Then let the ‘arm’ hang down over the tab. I put a few folds in one guy’s arm to add some wiggle.

Enjoy your festive scarecrows! 🙂

Hint: (I’d love to see what your kids create 🙂


DIY Projects

Burlap Placemats

Golden Miss Summer is slipping away and rustic Autumn is ushered in with pumpkins and sheaves of drying corn dotting the countryside.

It seems the perfect time to break out the burlap and do a little crafting for the local benefit auction to support the Clinic For Special Children. They have done so much for us and Kierra. It was the tiniest way I could show my appreciation.

I know..burlap has been around for ‘forever’ but I seriously hadn’t gotten into the wonders of it until I tried this. Now I’m hooked 🙂

Image


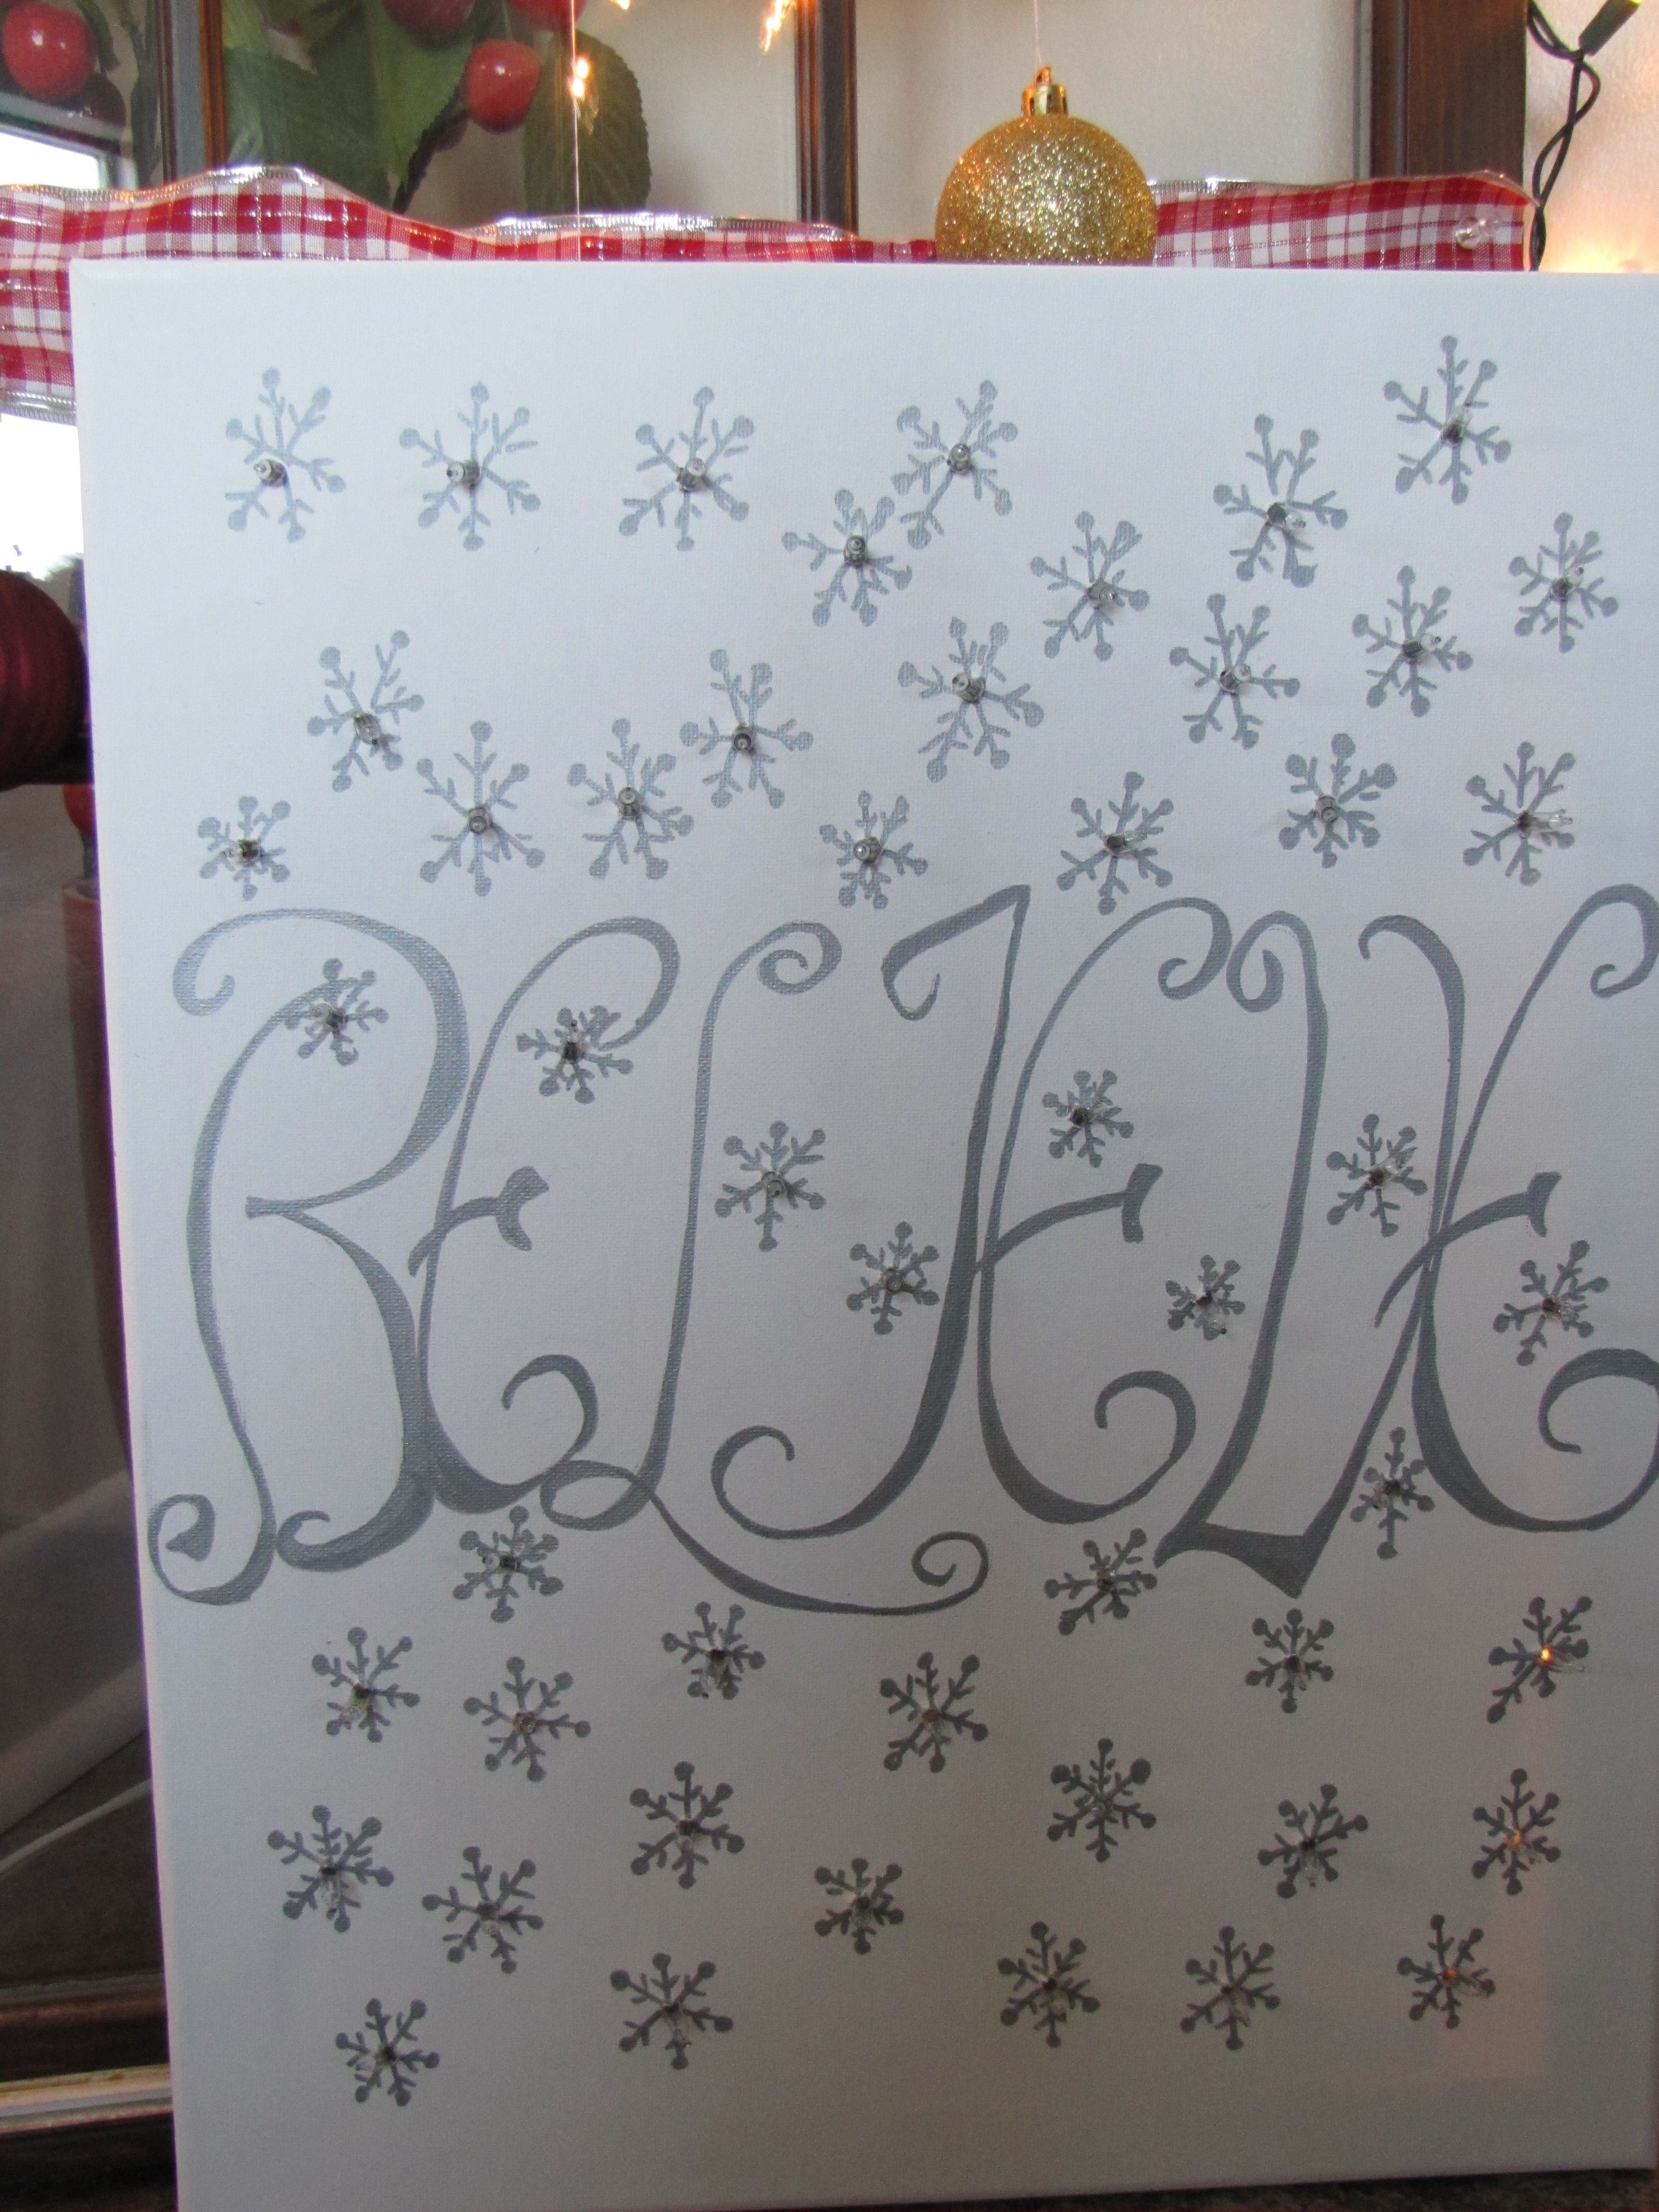
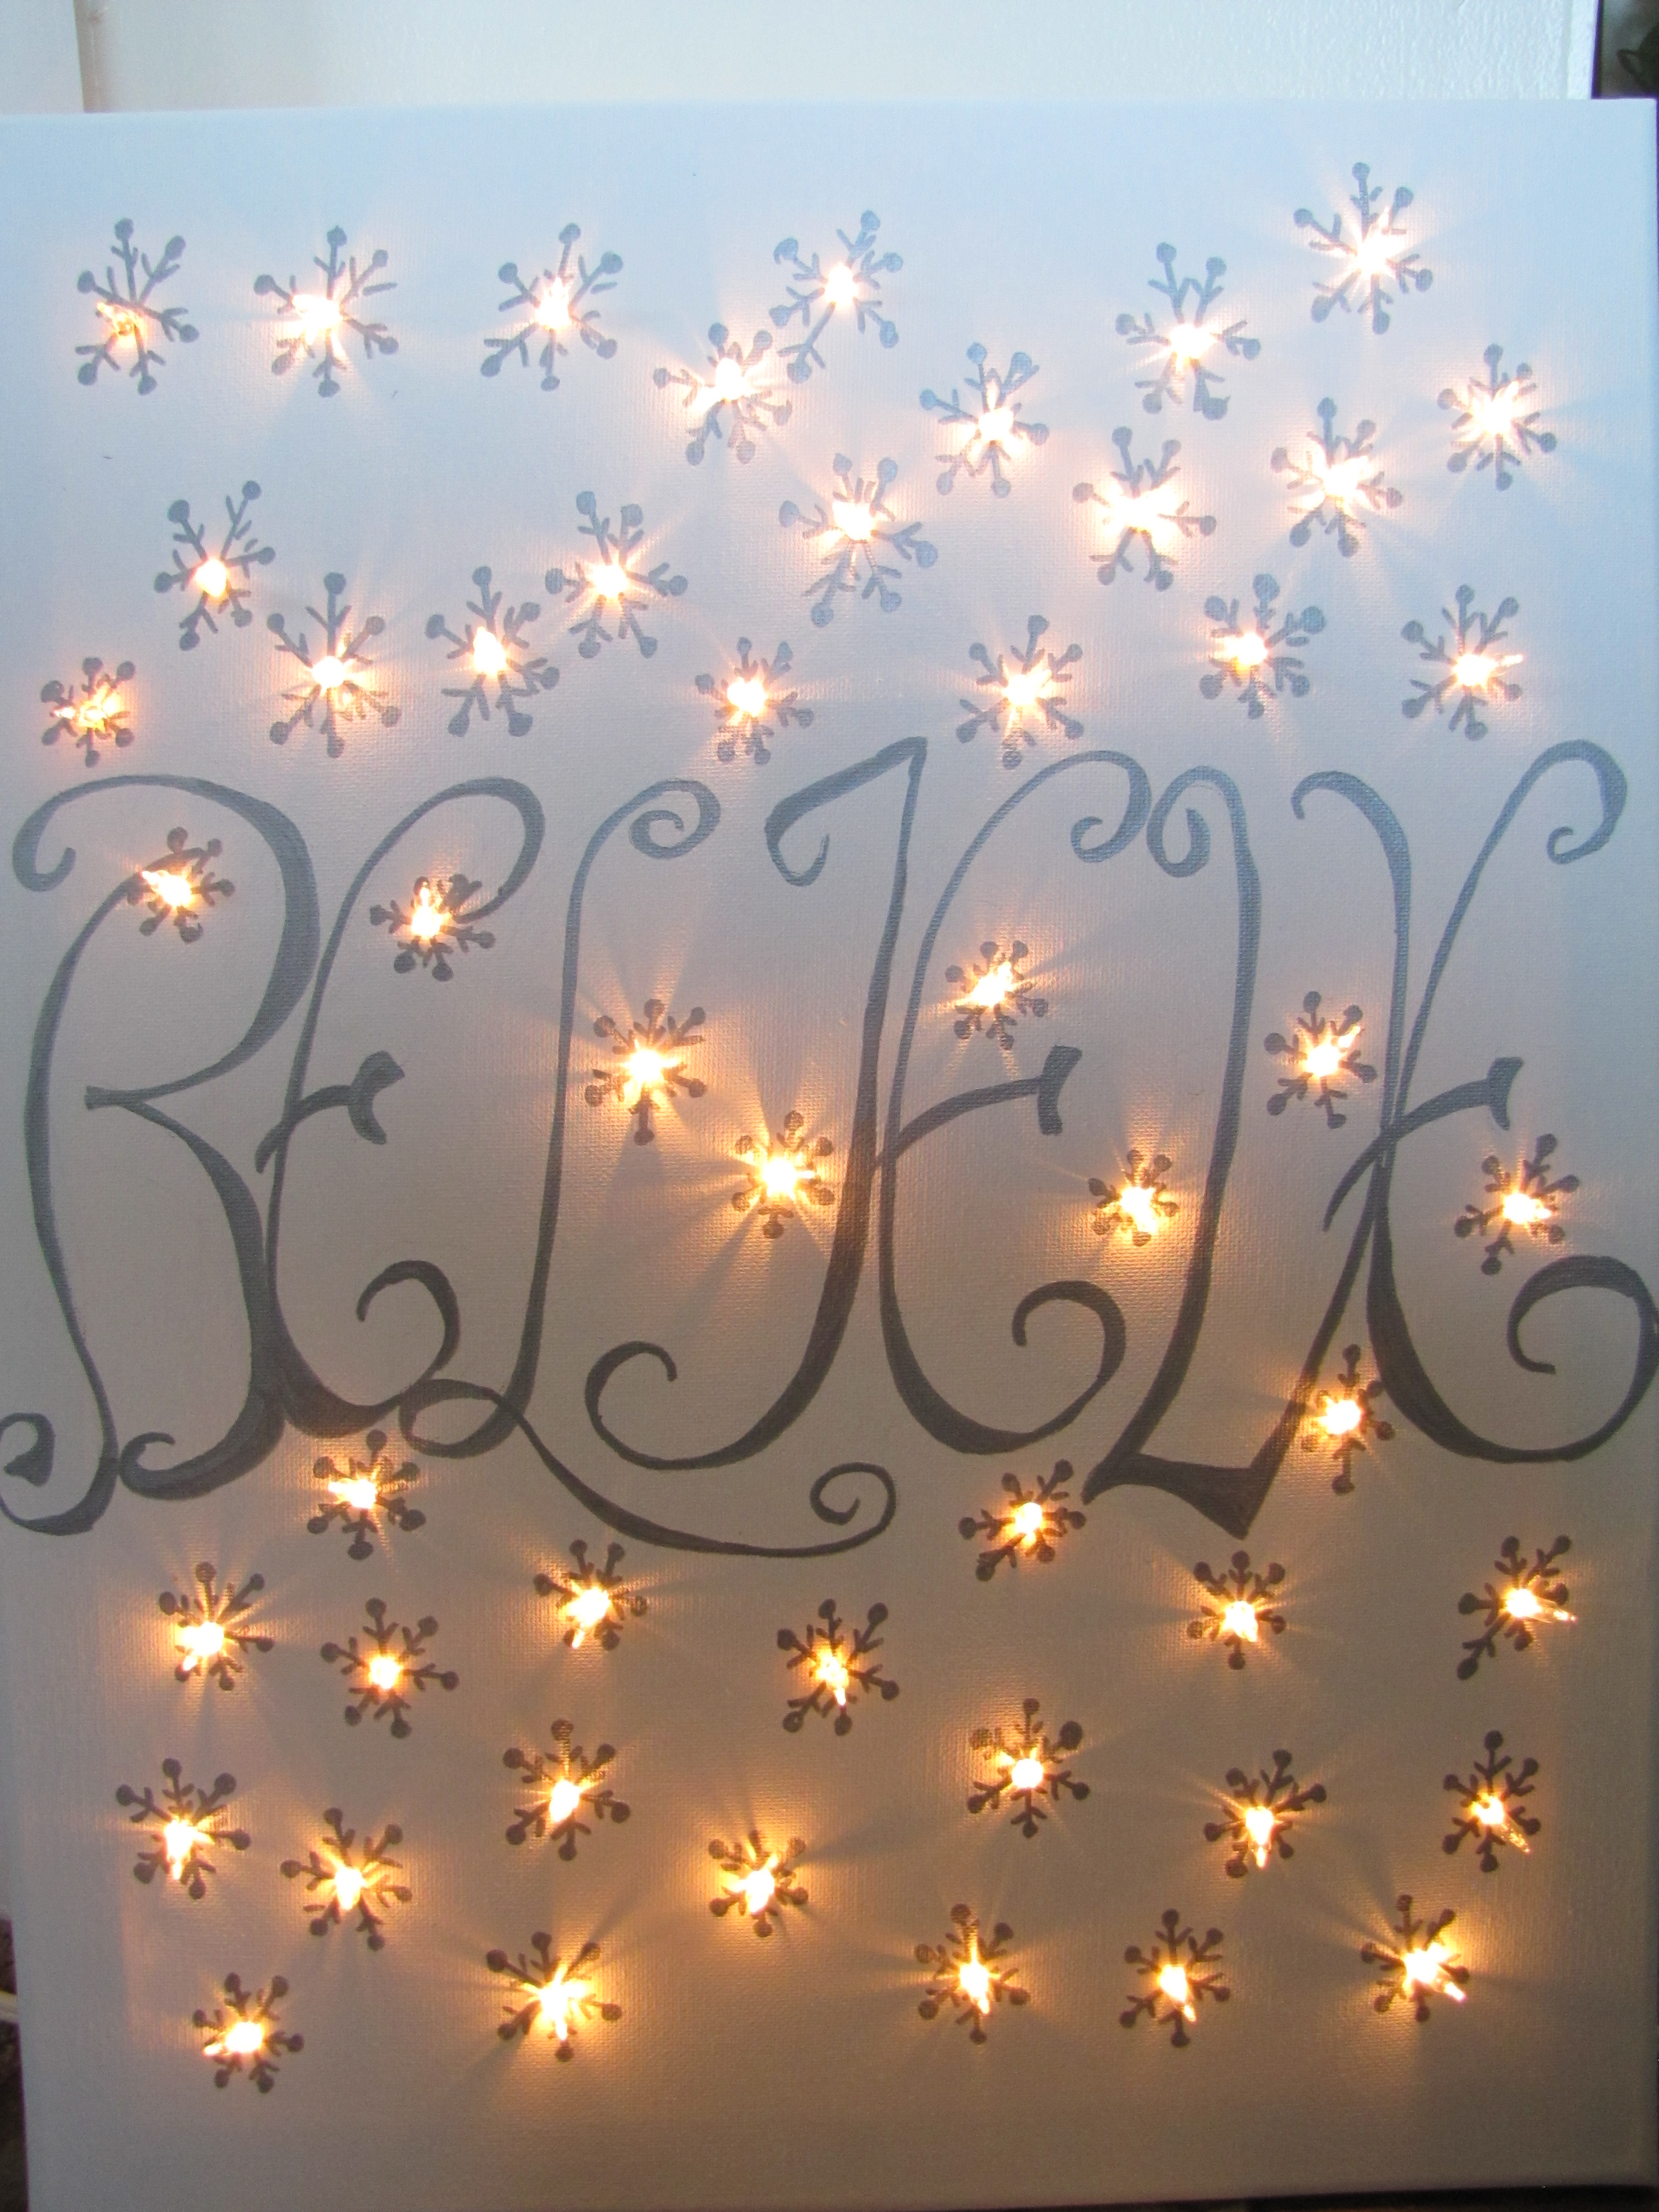
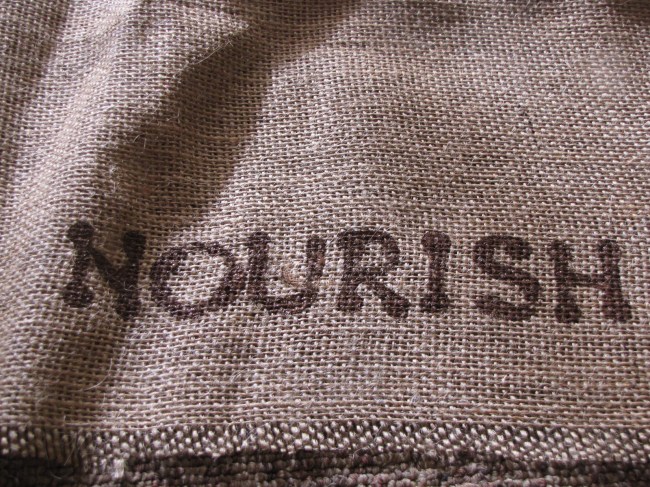
This is the finished project. It’s one of the most fun simple projects I have ever done. 

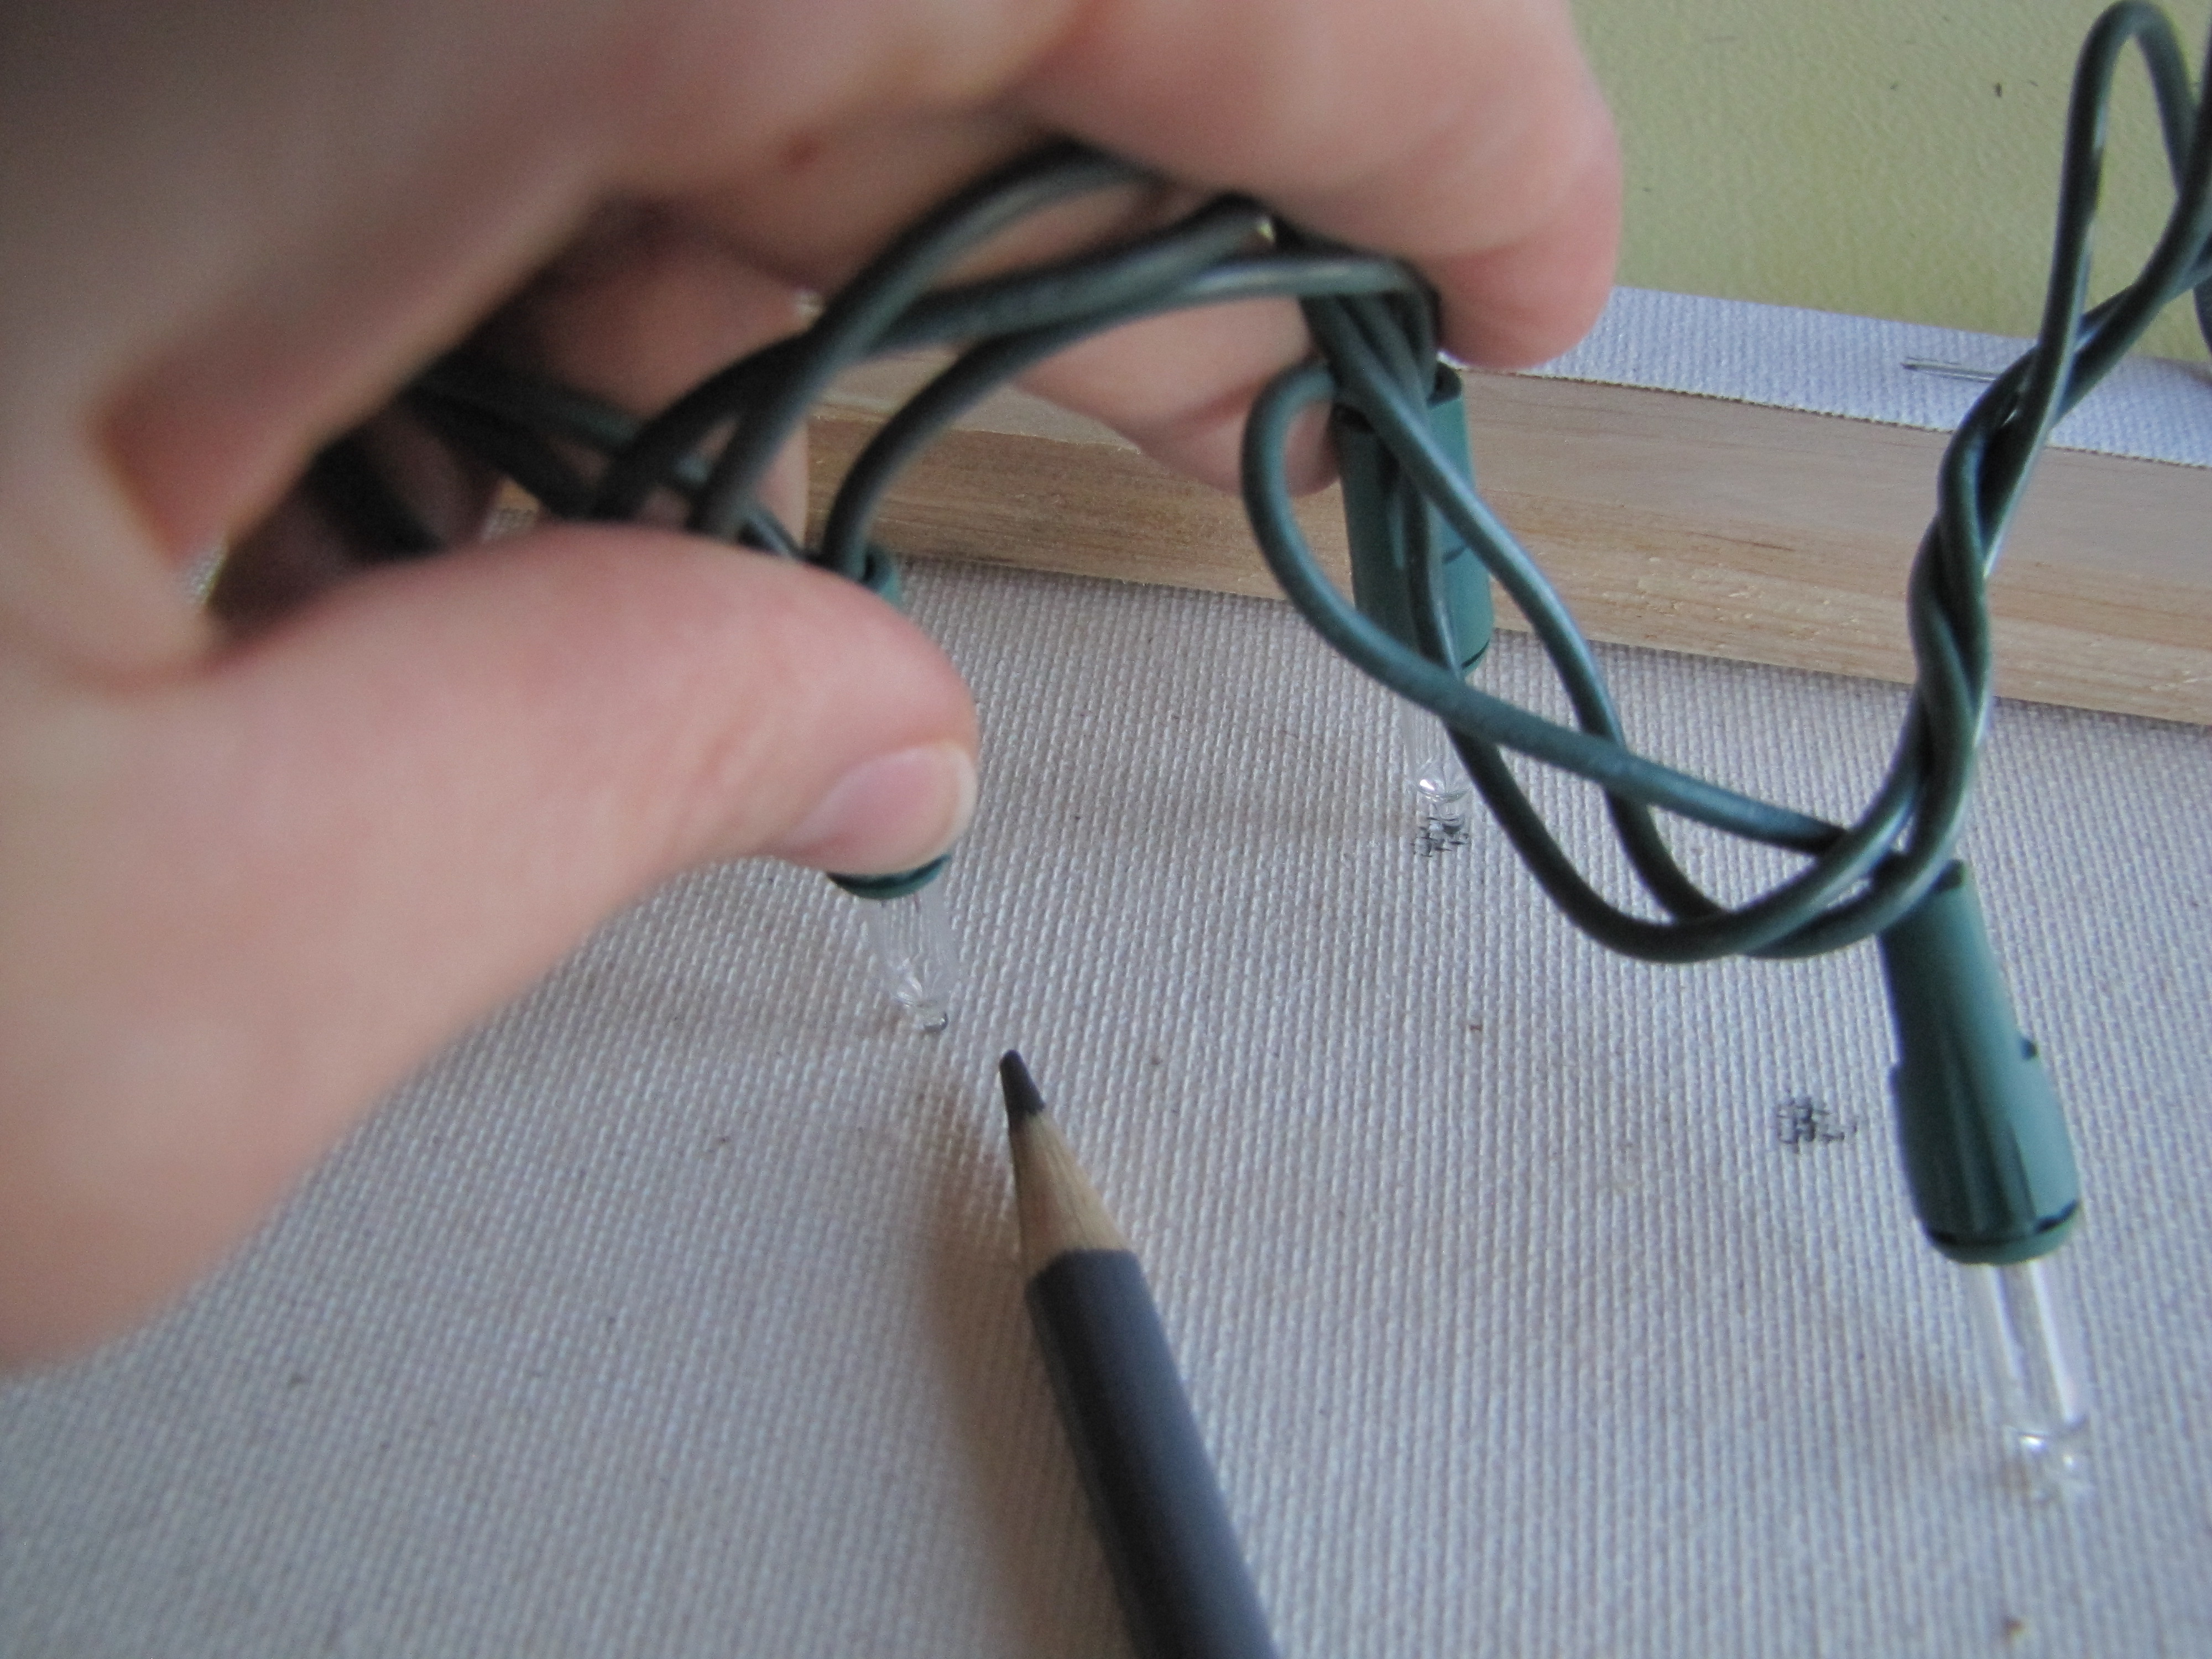
I made my place mats about 16×19 in. There’s the coolest little trick to getting a nice straight edge without having your eyes go batty.

Measure your desired size of burlap. make a small snip at all four corners. Then pick a strand of burlap and pull gently and firmly. The fabric will gather as you pull. As long as the opposite end of your string of burlap is free from the large piece of fabric, it should pull all the way out.

Image


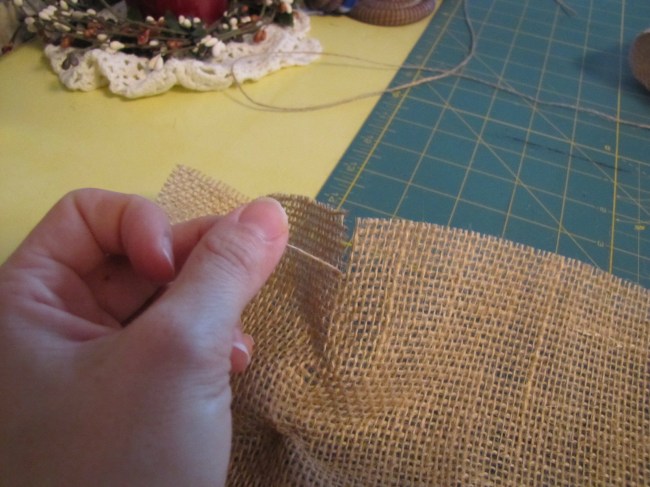
Now you will have this….A nice straight gap down the burlap to cut through.


Image


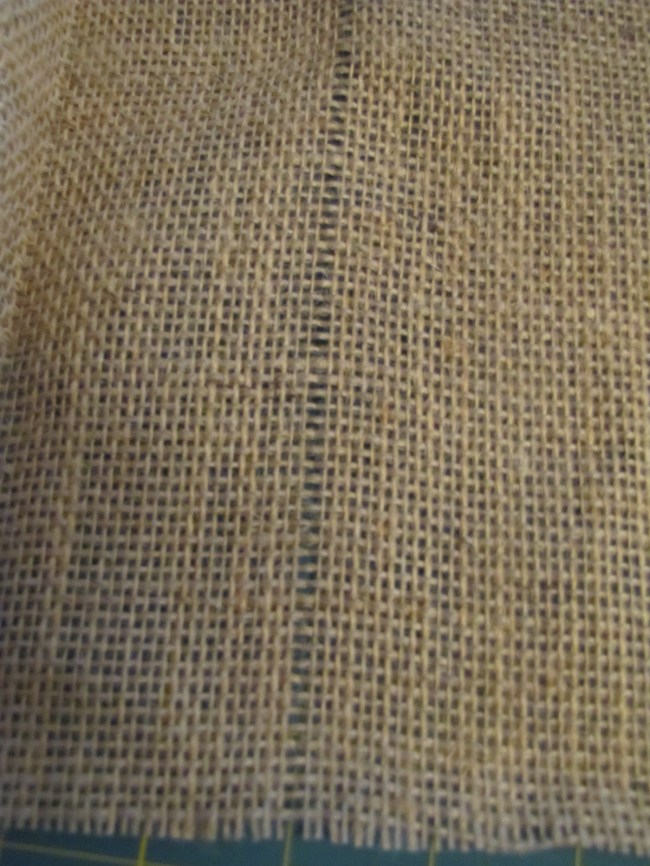
Cut down the middle, and remove extra burlap threads to create a nice rustic fringe. If you remove the same amount on all sides you will keep your symmetrical shape.

Image


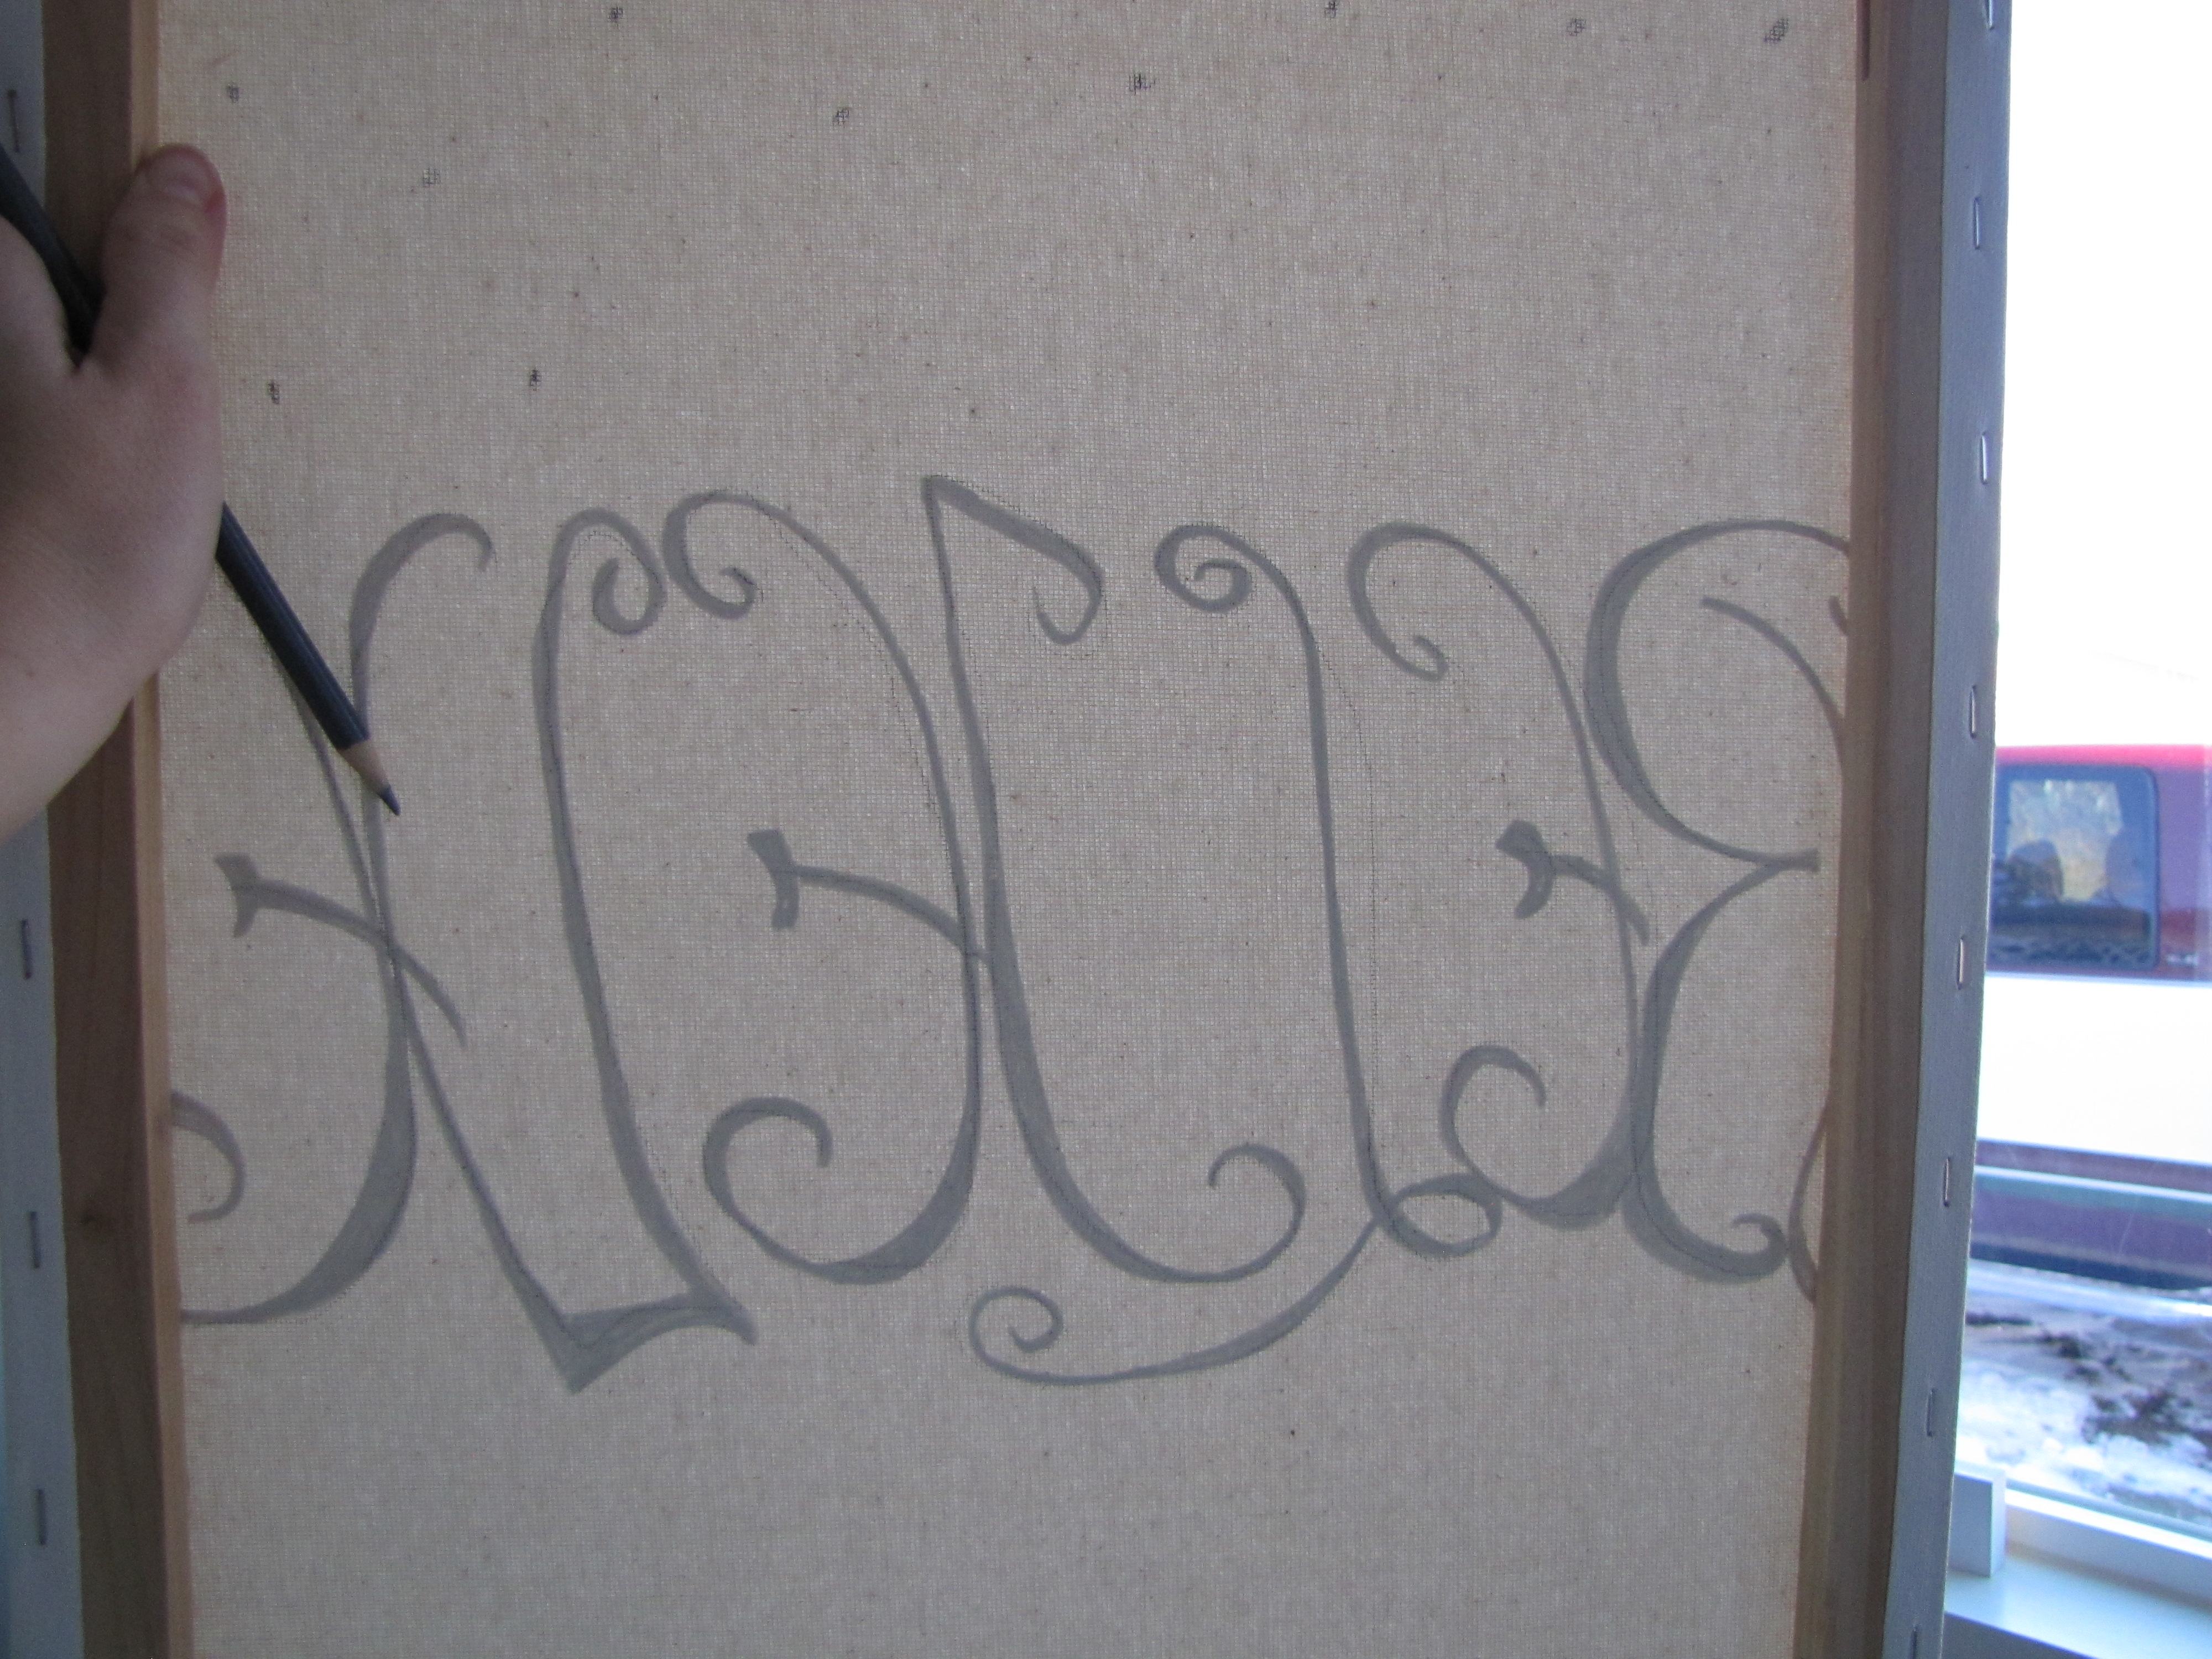
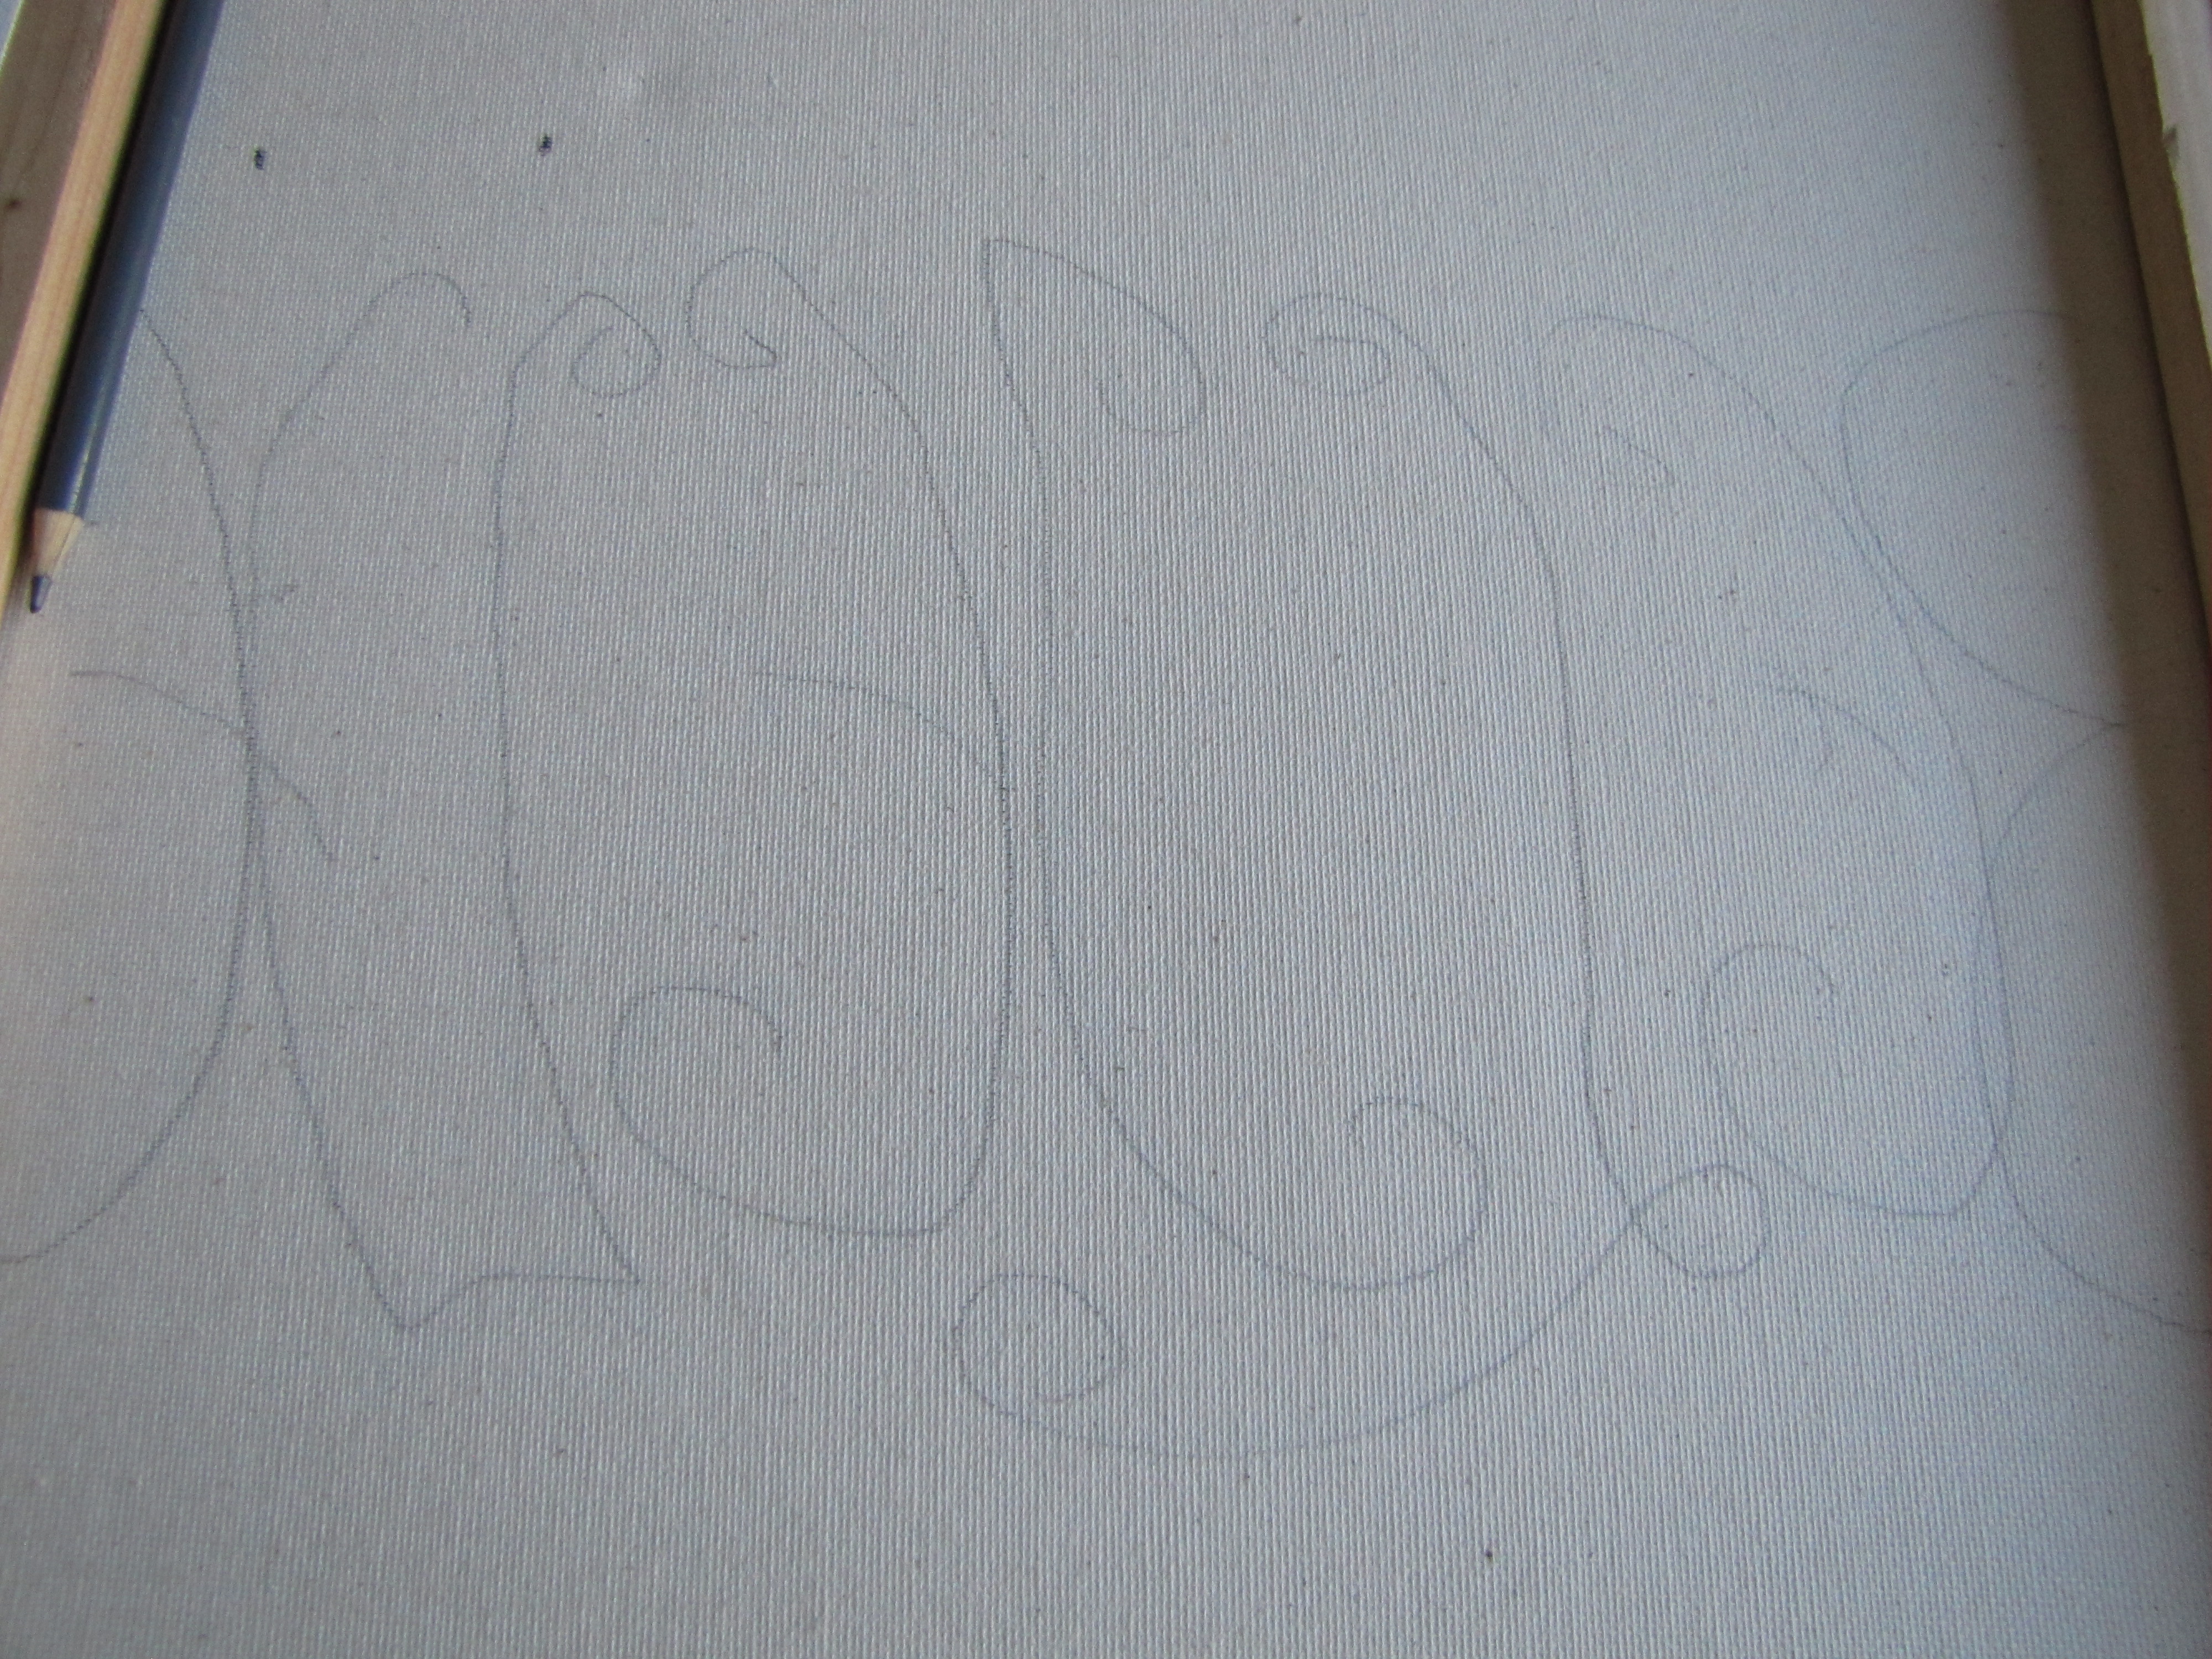
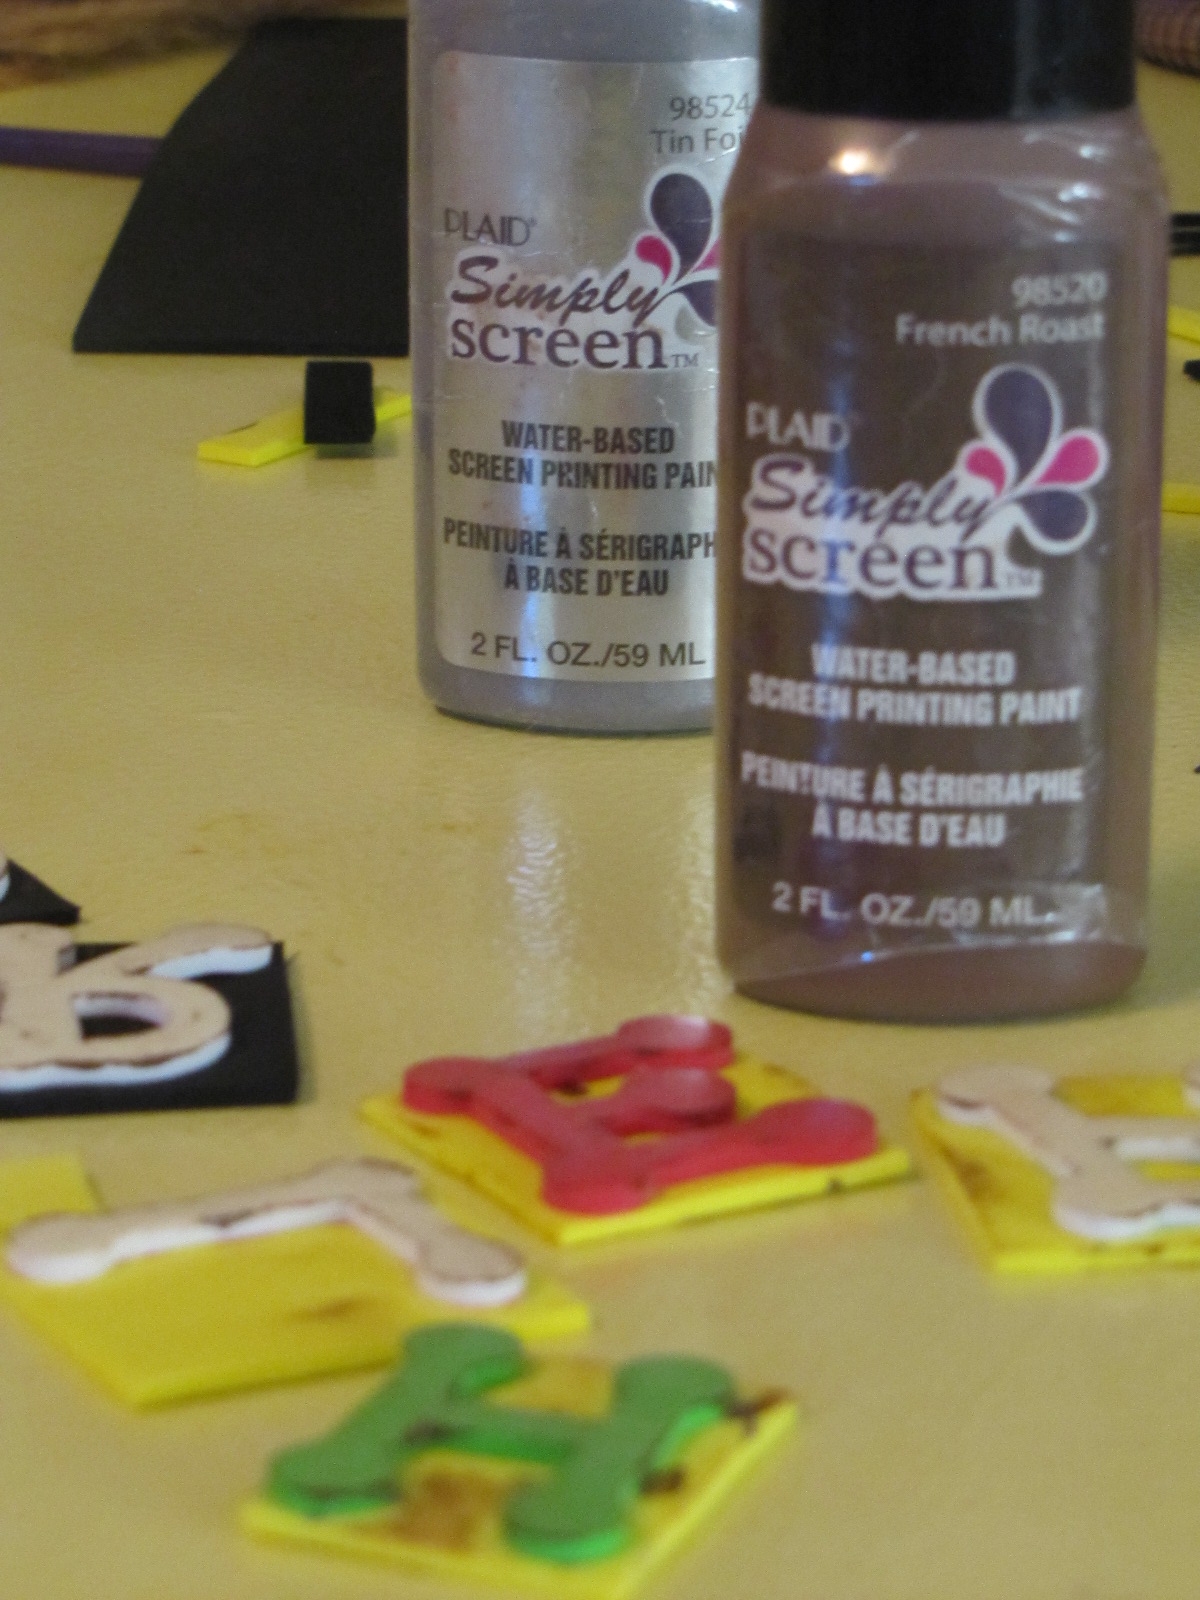
I used fabric paint for the letters, but I’m guessing acrylic paint would work as well. I was planning to sell these, so I wanted something that would not wash or smudge off. I picked up a big bag of foam letters at a yardsale this summer and have been dying to try to make my own stamps with them. It worked great! Especially after I realized you have to create them all backwards so your wording comes out frontwards on your project 🙂


ImageImage


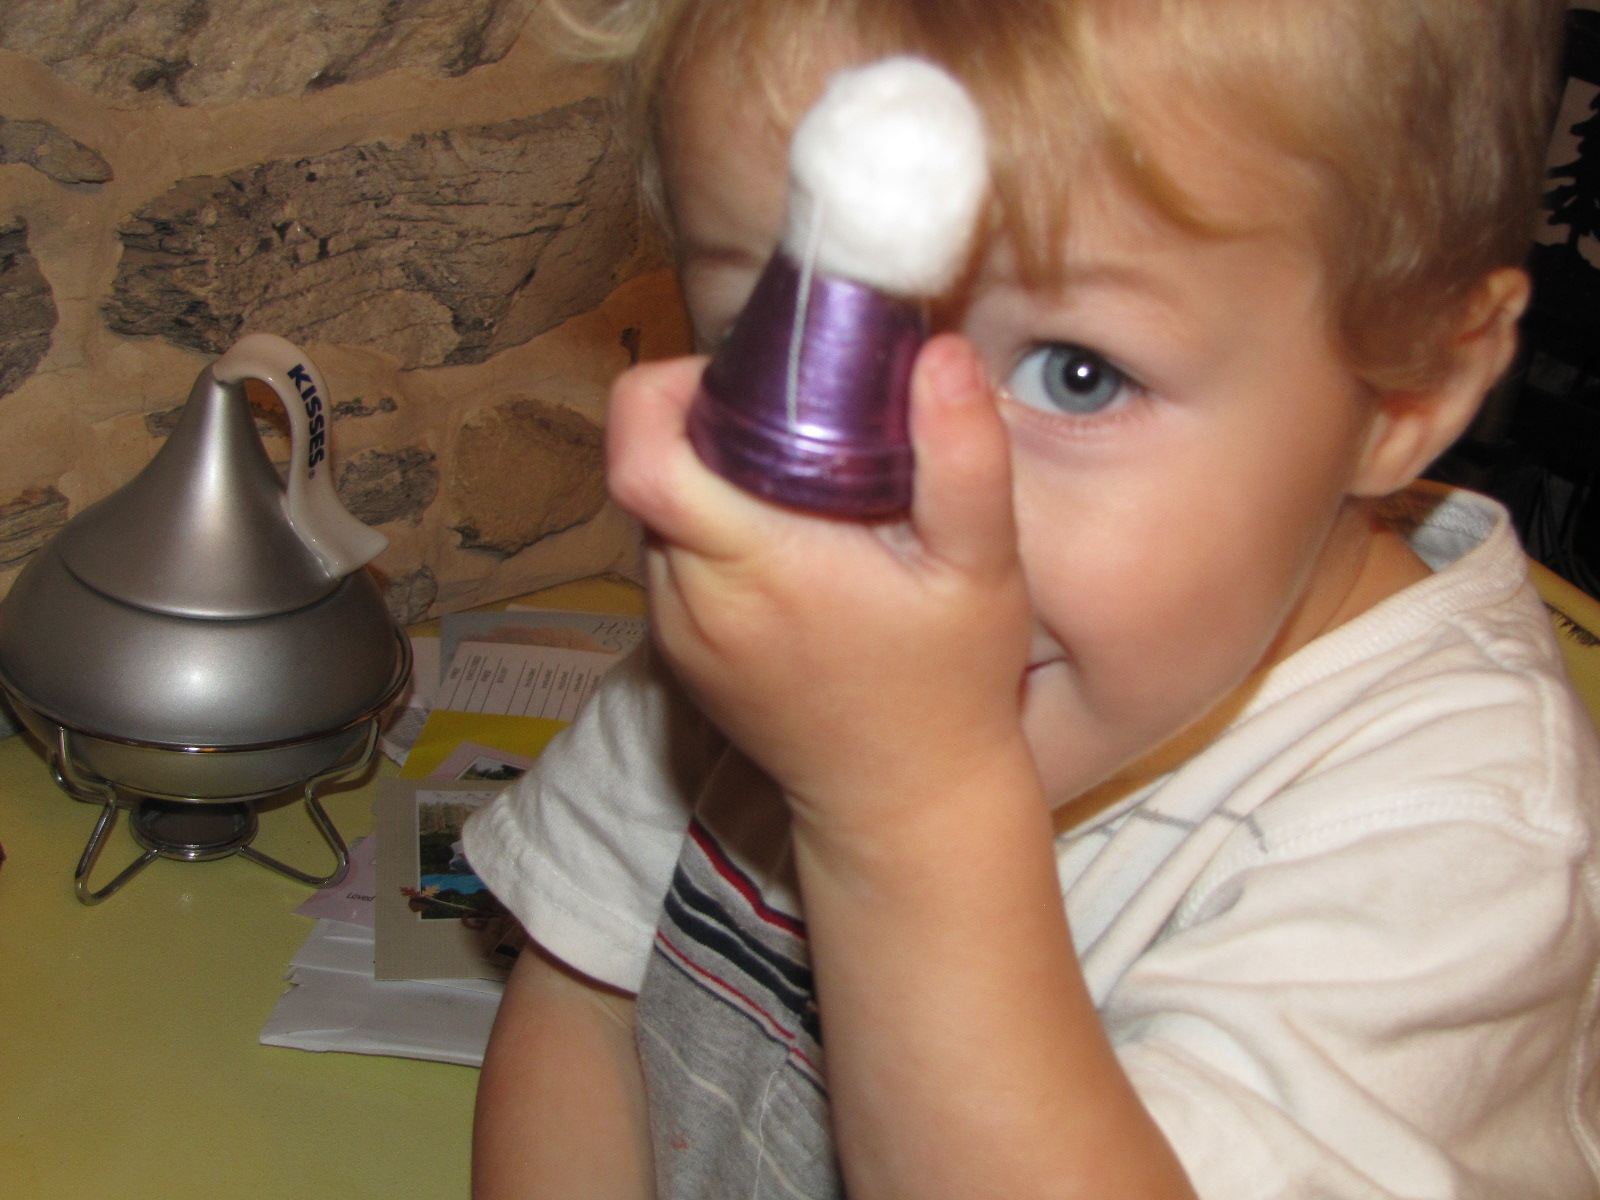
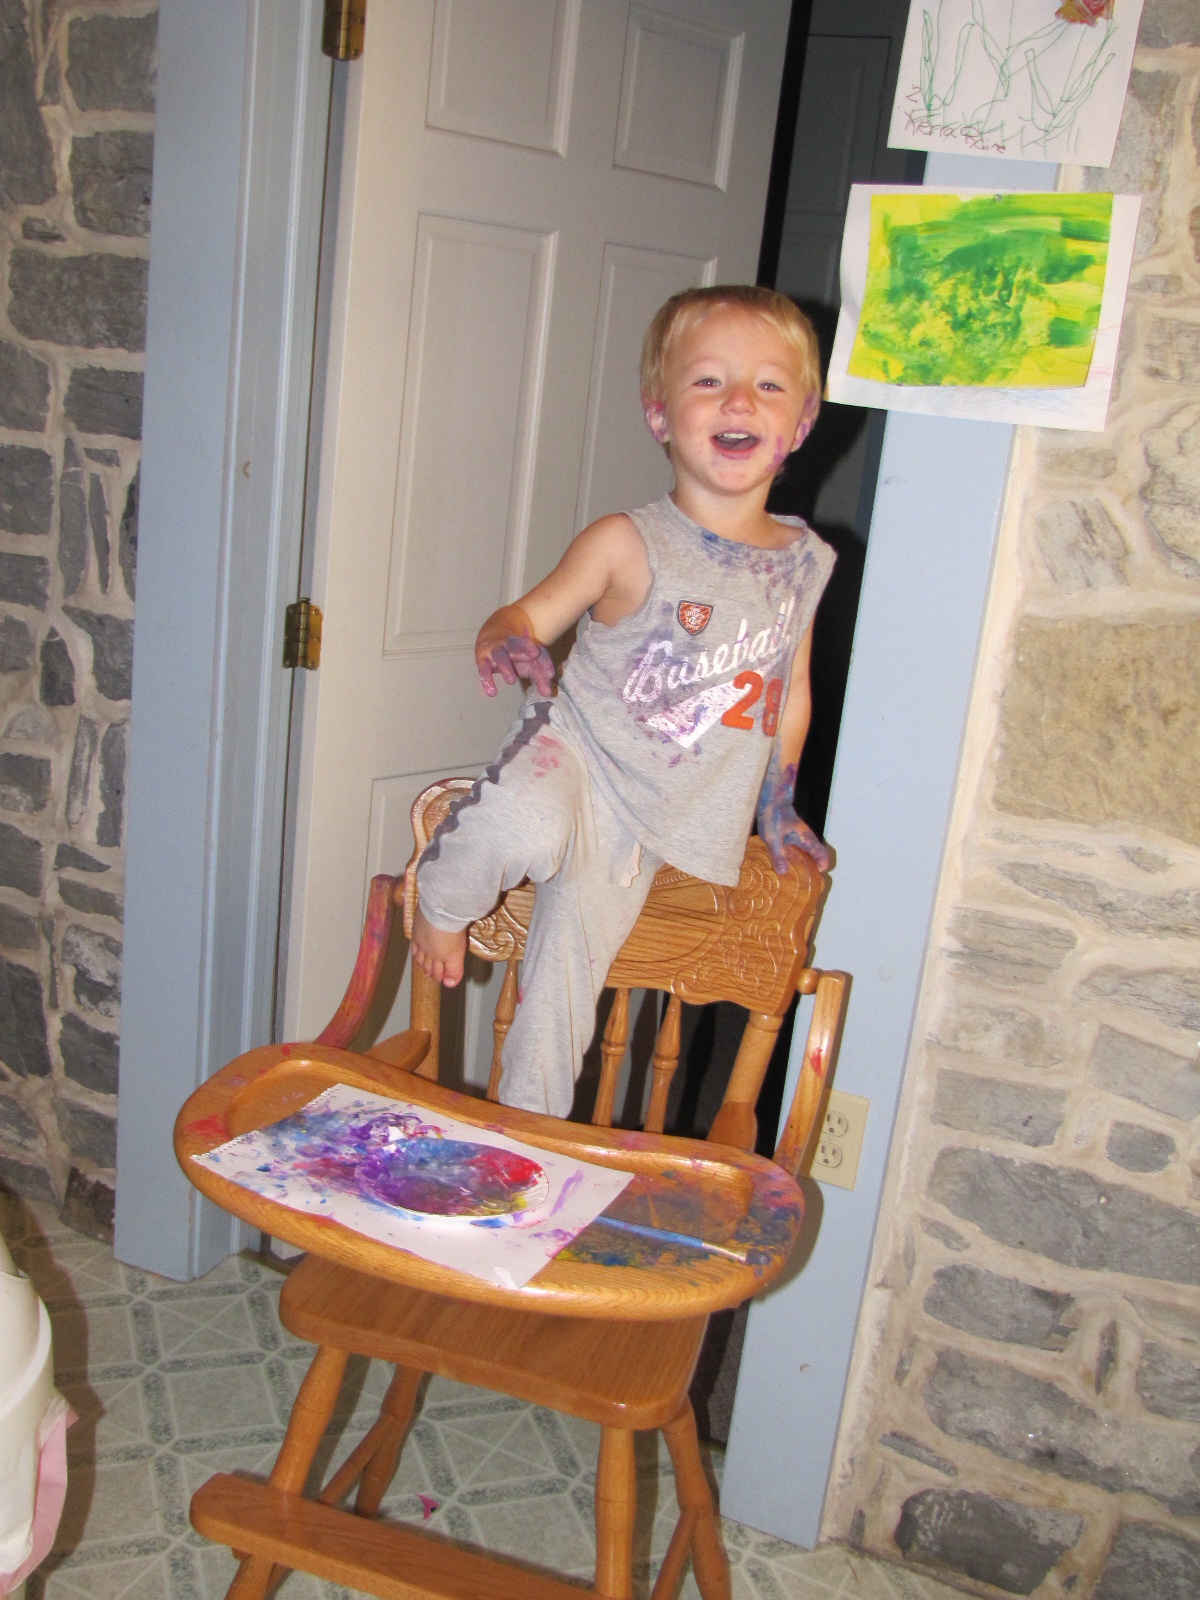
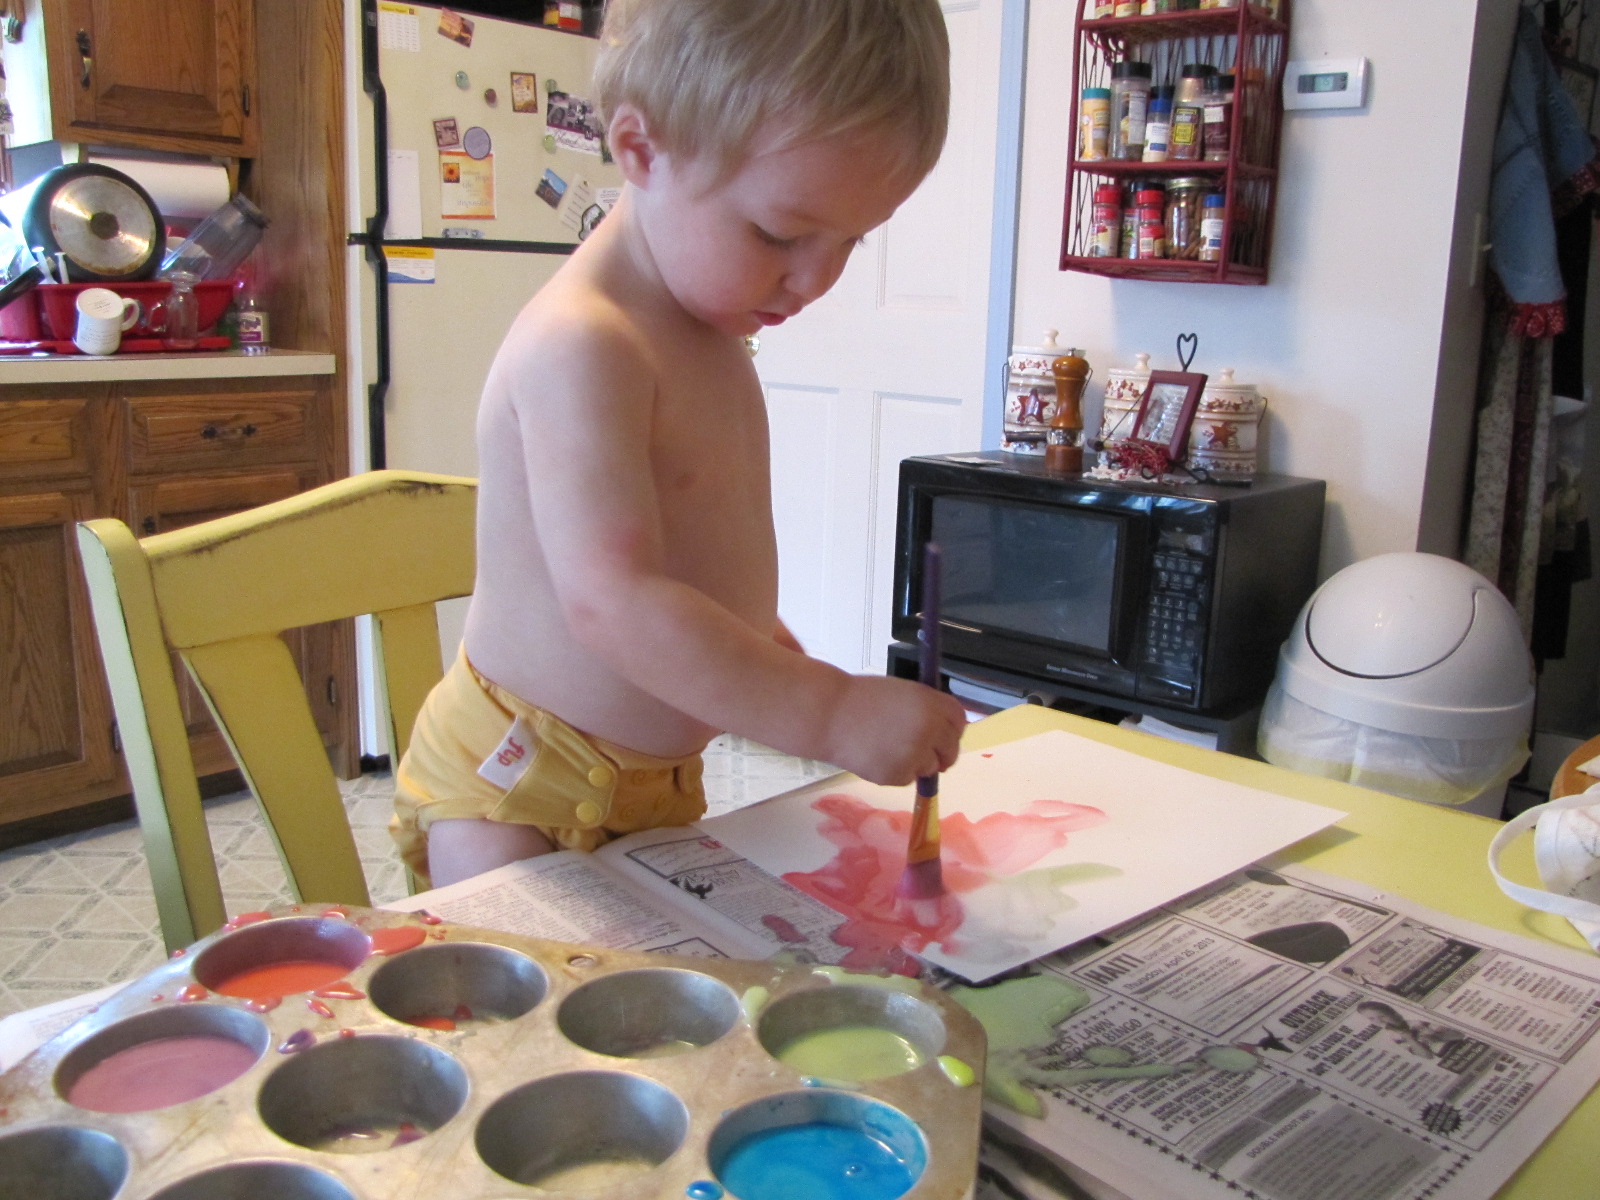
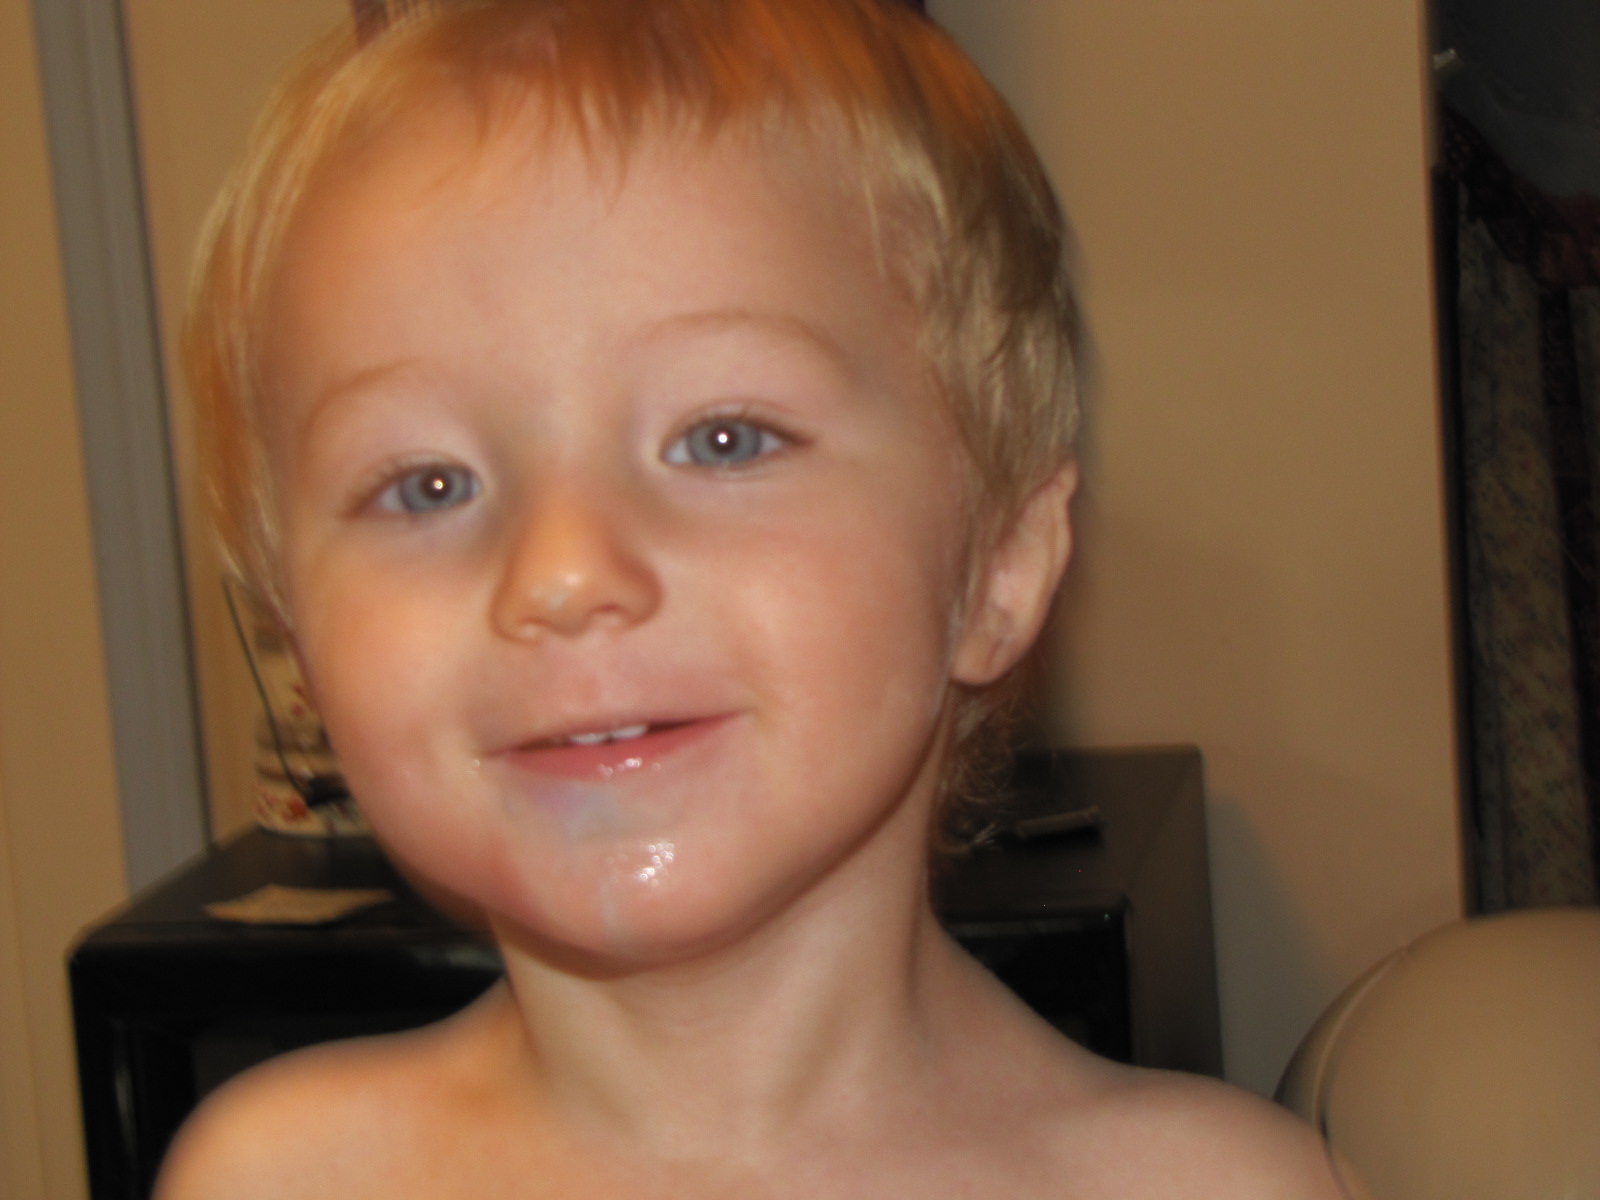
And before I forget I need to show you how my little guy was driving me happily crazy while I did this project (i’ll mark  the low quality photography up to him too since I had to hurry. LOL!!!)

ImageImage


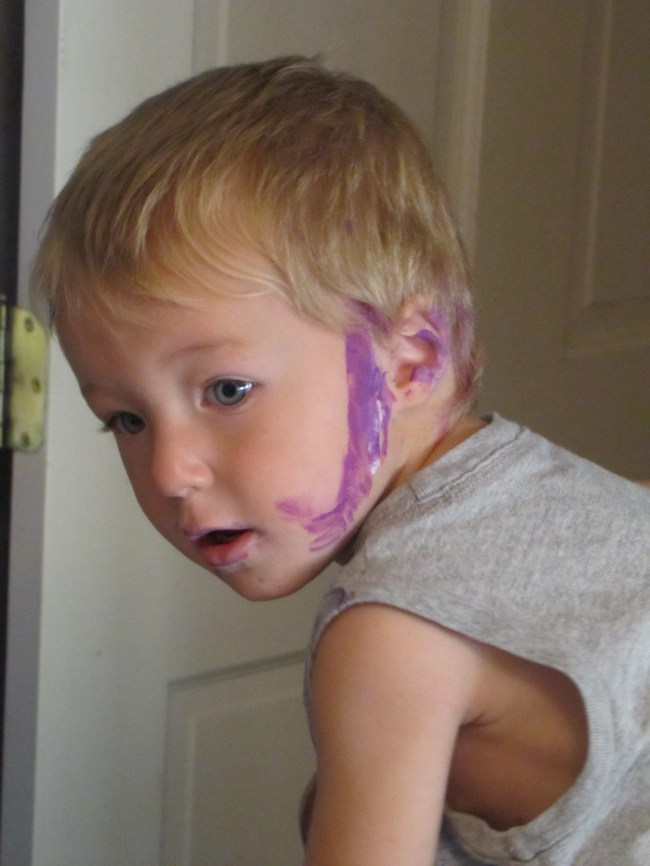
Thankfully his paints were very washable 🙂 He painted his high chair, his ear, and his hair. I let him to his own creations 🙂 until he informed me that he was “DONE paint” Love him so much 🙂

I zig zagged the edges of the burlap with my sewing machine since I planned to sell them and didn’t want them to fray uncontrollably for folks. I think it would be fine to leave them raw for myself 🙂

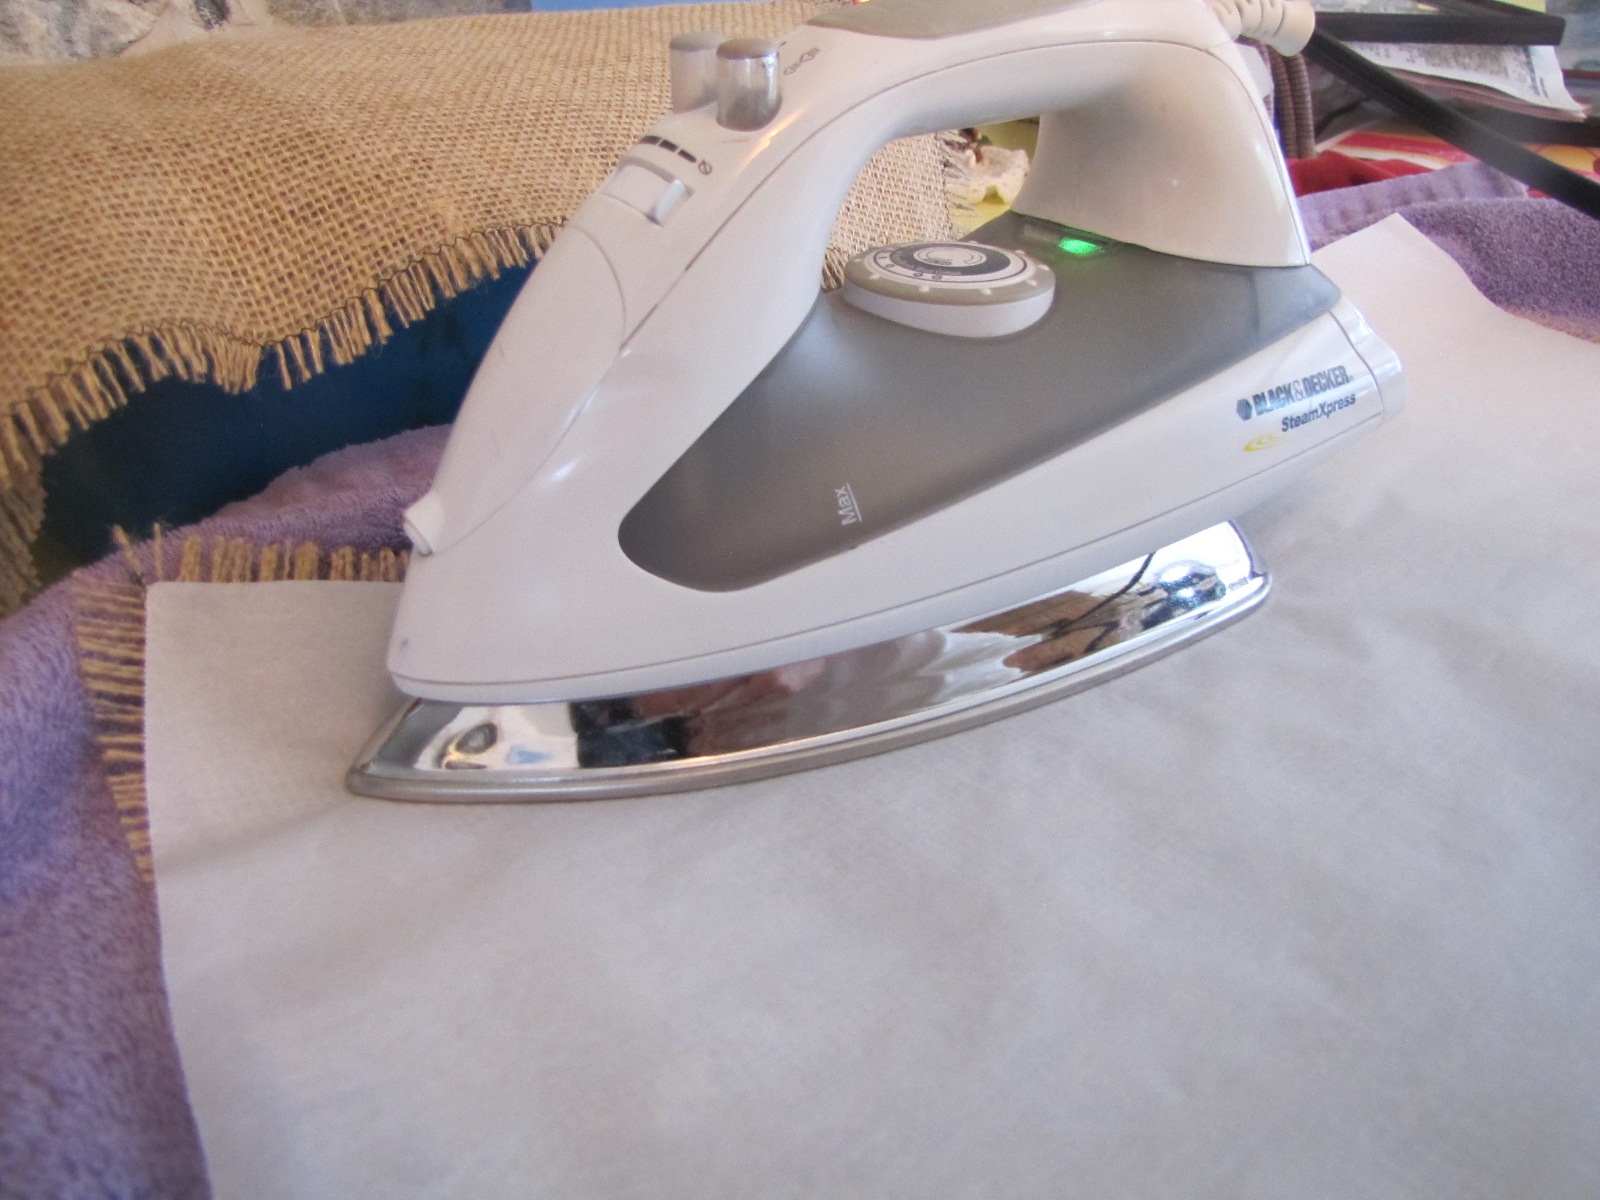
Then I pressed them with a dry hot iron with parchment paper covering the lettering and burlap. That helped set the lettering, and smoothed out the wrinkles.

Image


Just for fun i made coffee mug coasters to go with them.


Image

I get all excited just thinking of all the fun things to do with this cool stuff:) 

*monogrammed burlap

*foody words

*Christmas joy lettering

*kids drawings turned into stamps or

* kids hand painting pictures or

*kids hand prints 

*personalized place settings

*party memories (with sharpie markers)
 
talk bout wide open possibilities!
Happy Autumn to you! 
 
And just to give you an idea of the vastness and wonderfulness of the auction…
There were 7 auctioneers going at one time in the afternoon. Everything was donated. Including minibarn sheds, rabbit hutches, 70 quilts, wall hangings, tons of crafts and household items, farm and outdoor items, flowers, lawn furniture, park benches, swingsets, and food beyond imagination 🙂 salad bar, bbq chicken, pizza, soft pretzels, icecream, chili fries, bbq sandwiches, pies galore, doughnuts, vegetable trays and dip, fresh fruit cups, smoothies, coffee drinks, root beer floats,whoopie pies, and I’m not sure what all else i missed. Oh yes!  breakfast. Scrambled eggs and pancakes, sausage links, fried potatoes, omelets, and toast.
   It was totally amazing and overwhelming at the support and vast amounts of money and people that came out to make this day happen. These auctions are what help keep the Clinic running. They sold a special wooden bowl for $27,000 with all proceeds going to starting a new clinic in Big Valley. Also, a model tractor that actually runs and is the one in America that they know of. It brought around $20,000, I think. 
Image
 
this was only part of the crowd 🙂
We are so thankful for the support that makes it possible for the kind, knowledgeable and compassionate care Kierra has received! I think the thing that really makes a difference is how Dr. Strauss and Dr. Mortan care about each individual patient as a real person! You can’t beat that:)
DIY Projects · Kid's Fun

Modern Art and Fingerpaints

We had so much fun the other day! I found a simple recipe for water color paint that Kobe quickly turned into finger paint. We simply mixed these ingredients together, and spread out the layers of newspaper and nice heavy acrylic painting paper…

Image

3 tsp. corn syrup

6 T. cornstarch

6 T. baking soda

6 T. white vinegar

food coloring.

I mixed all the ingredients together, then divided it into muffin tins before adding the foods coloring. I was afraid the food coloring would stain the kids, but it washed off very well. This makes quite a bit of paint. I think I will stick with half batch next time!

ImageKobe was totally thrilled to be shirtless and artsy. Before i knew it, he was diggin in with his hands, watching the drips…

Imageand rubbing them in..

ImageI helped Kierra paint her masterpiece. She loved it..for a bit:)

ImageThen Kobe got to slinging paint and sampling it..and spitting 🙂

Image

ImageSo we wrapped up our fun little time, dumped the muddied paint colors down the drain, and headed for the shower.

Super simple. Super fun.

(they  made their own Mother’s Day gift without even realizing it:)