
To my friends who wanted step by step directions on making this super simple Christmas canvas…
Here are the supplies you will need.
16×20 in. white canvas
(available at Michael’s and other craft stores)
string of Christmas lights
( I used a 50 mini light string. you could try 100 count but it may be ALOT of lights! 🙂
Xacto pen, utility knife, skewer, or sharp knife
(to poke a small hole)
Silver Sharpie
Hot glue gun and glue
Lettering

The first step is to decide on a word you love. You can put it anywhere on the canvas. Center, off center, top, bottom, left, right..you get the idea 🙂
I have seen this done by using a lovely scripted word sticker. If you don’t feel steady in the hand today or have a lovely word on a sticker, you can always pop it on.
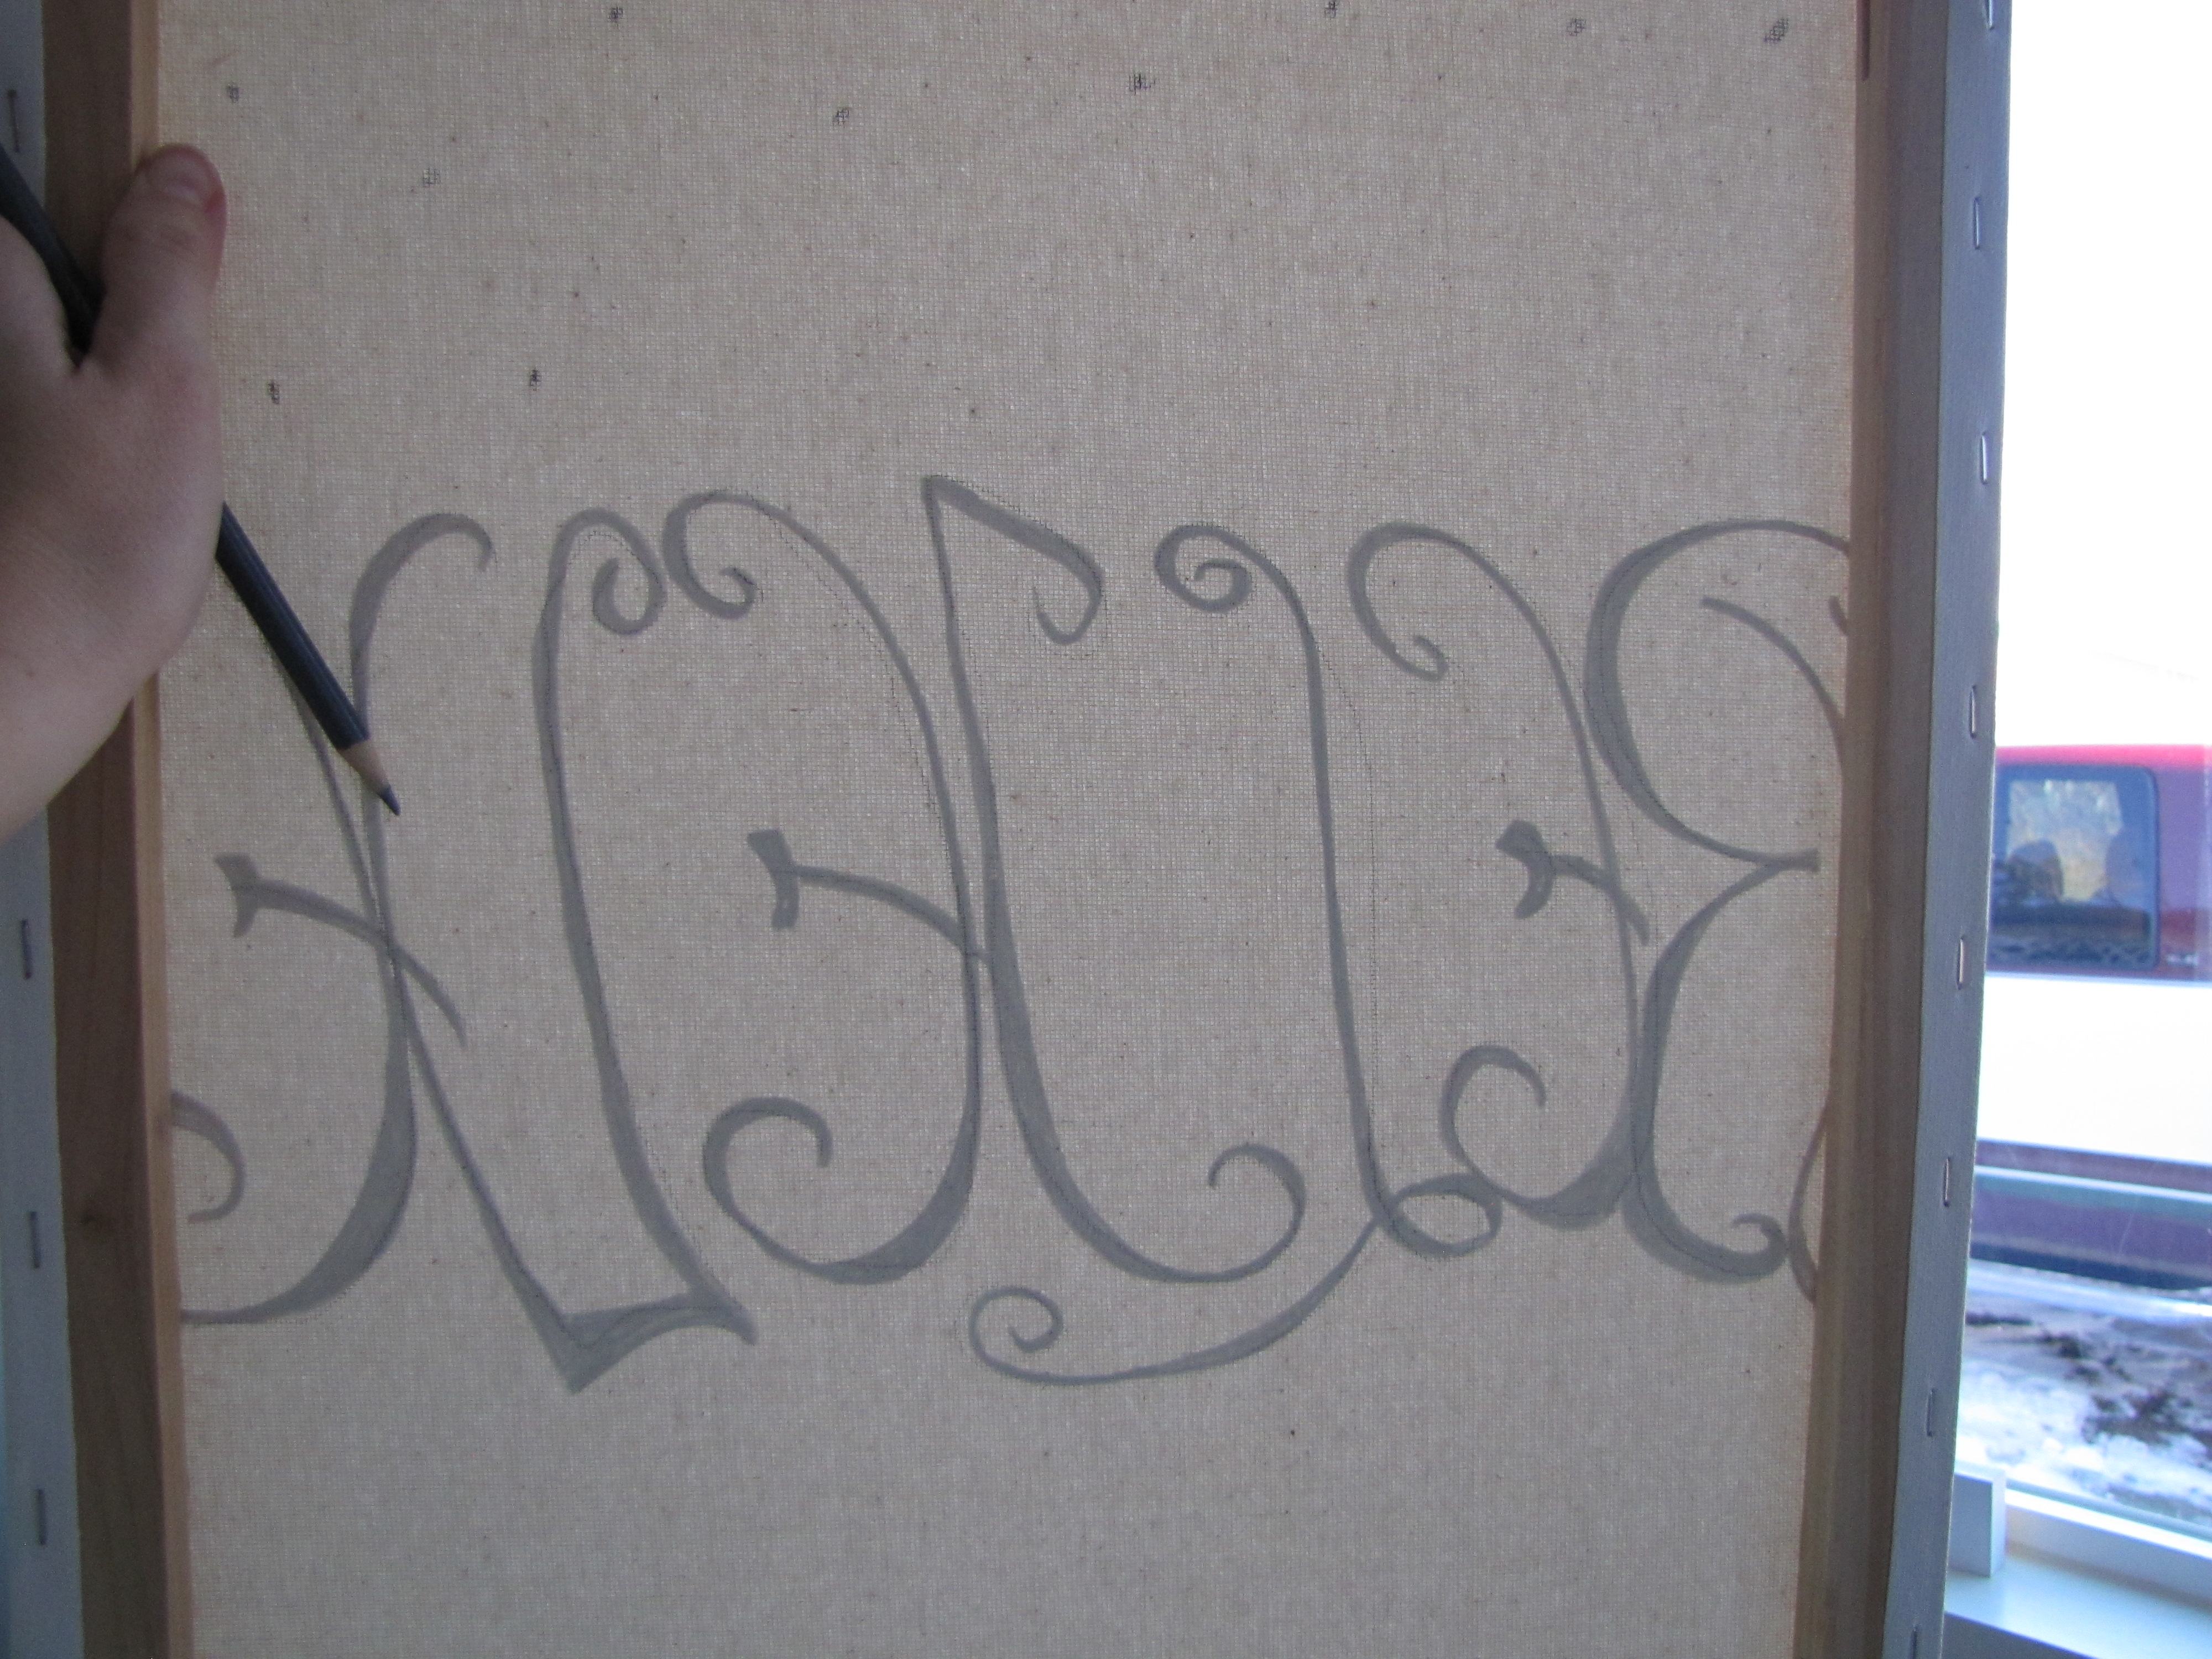
If you are free handing your letters, it may work best to start in the middle of the canvas with the middle letter(s) so it is spaced evenly. Be sure to use a pencil for the first script so you can make adjustments.
Finish out the word until you have it like you like it.

Now comes the fun with your silver sharpie.

be creative and add your own personal flair. There are so many fonts you can choose from!
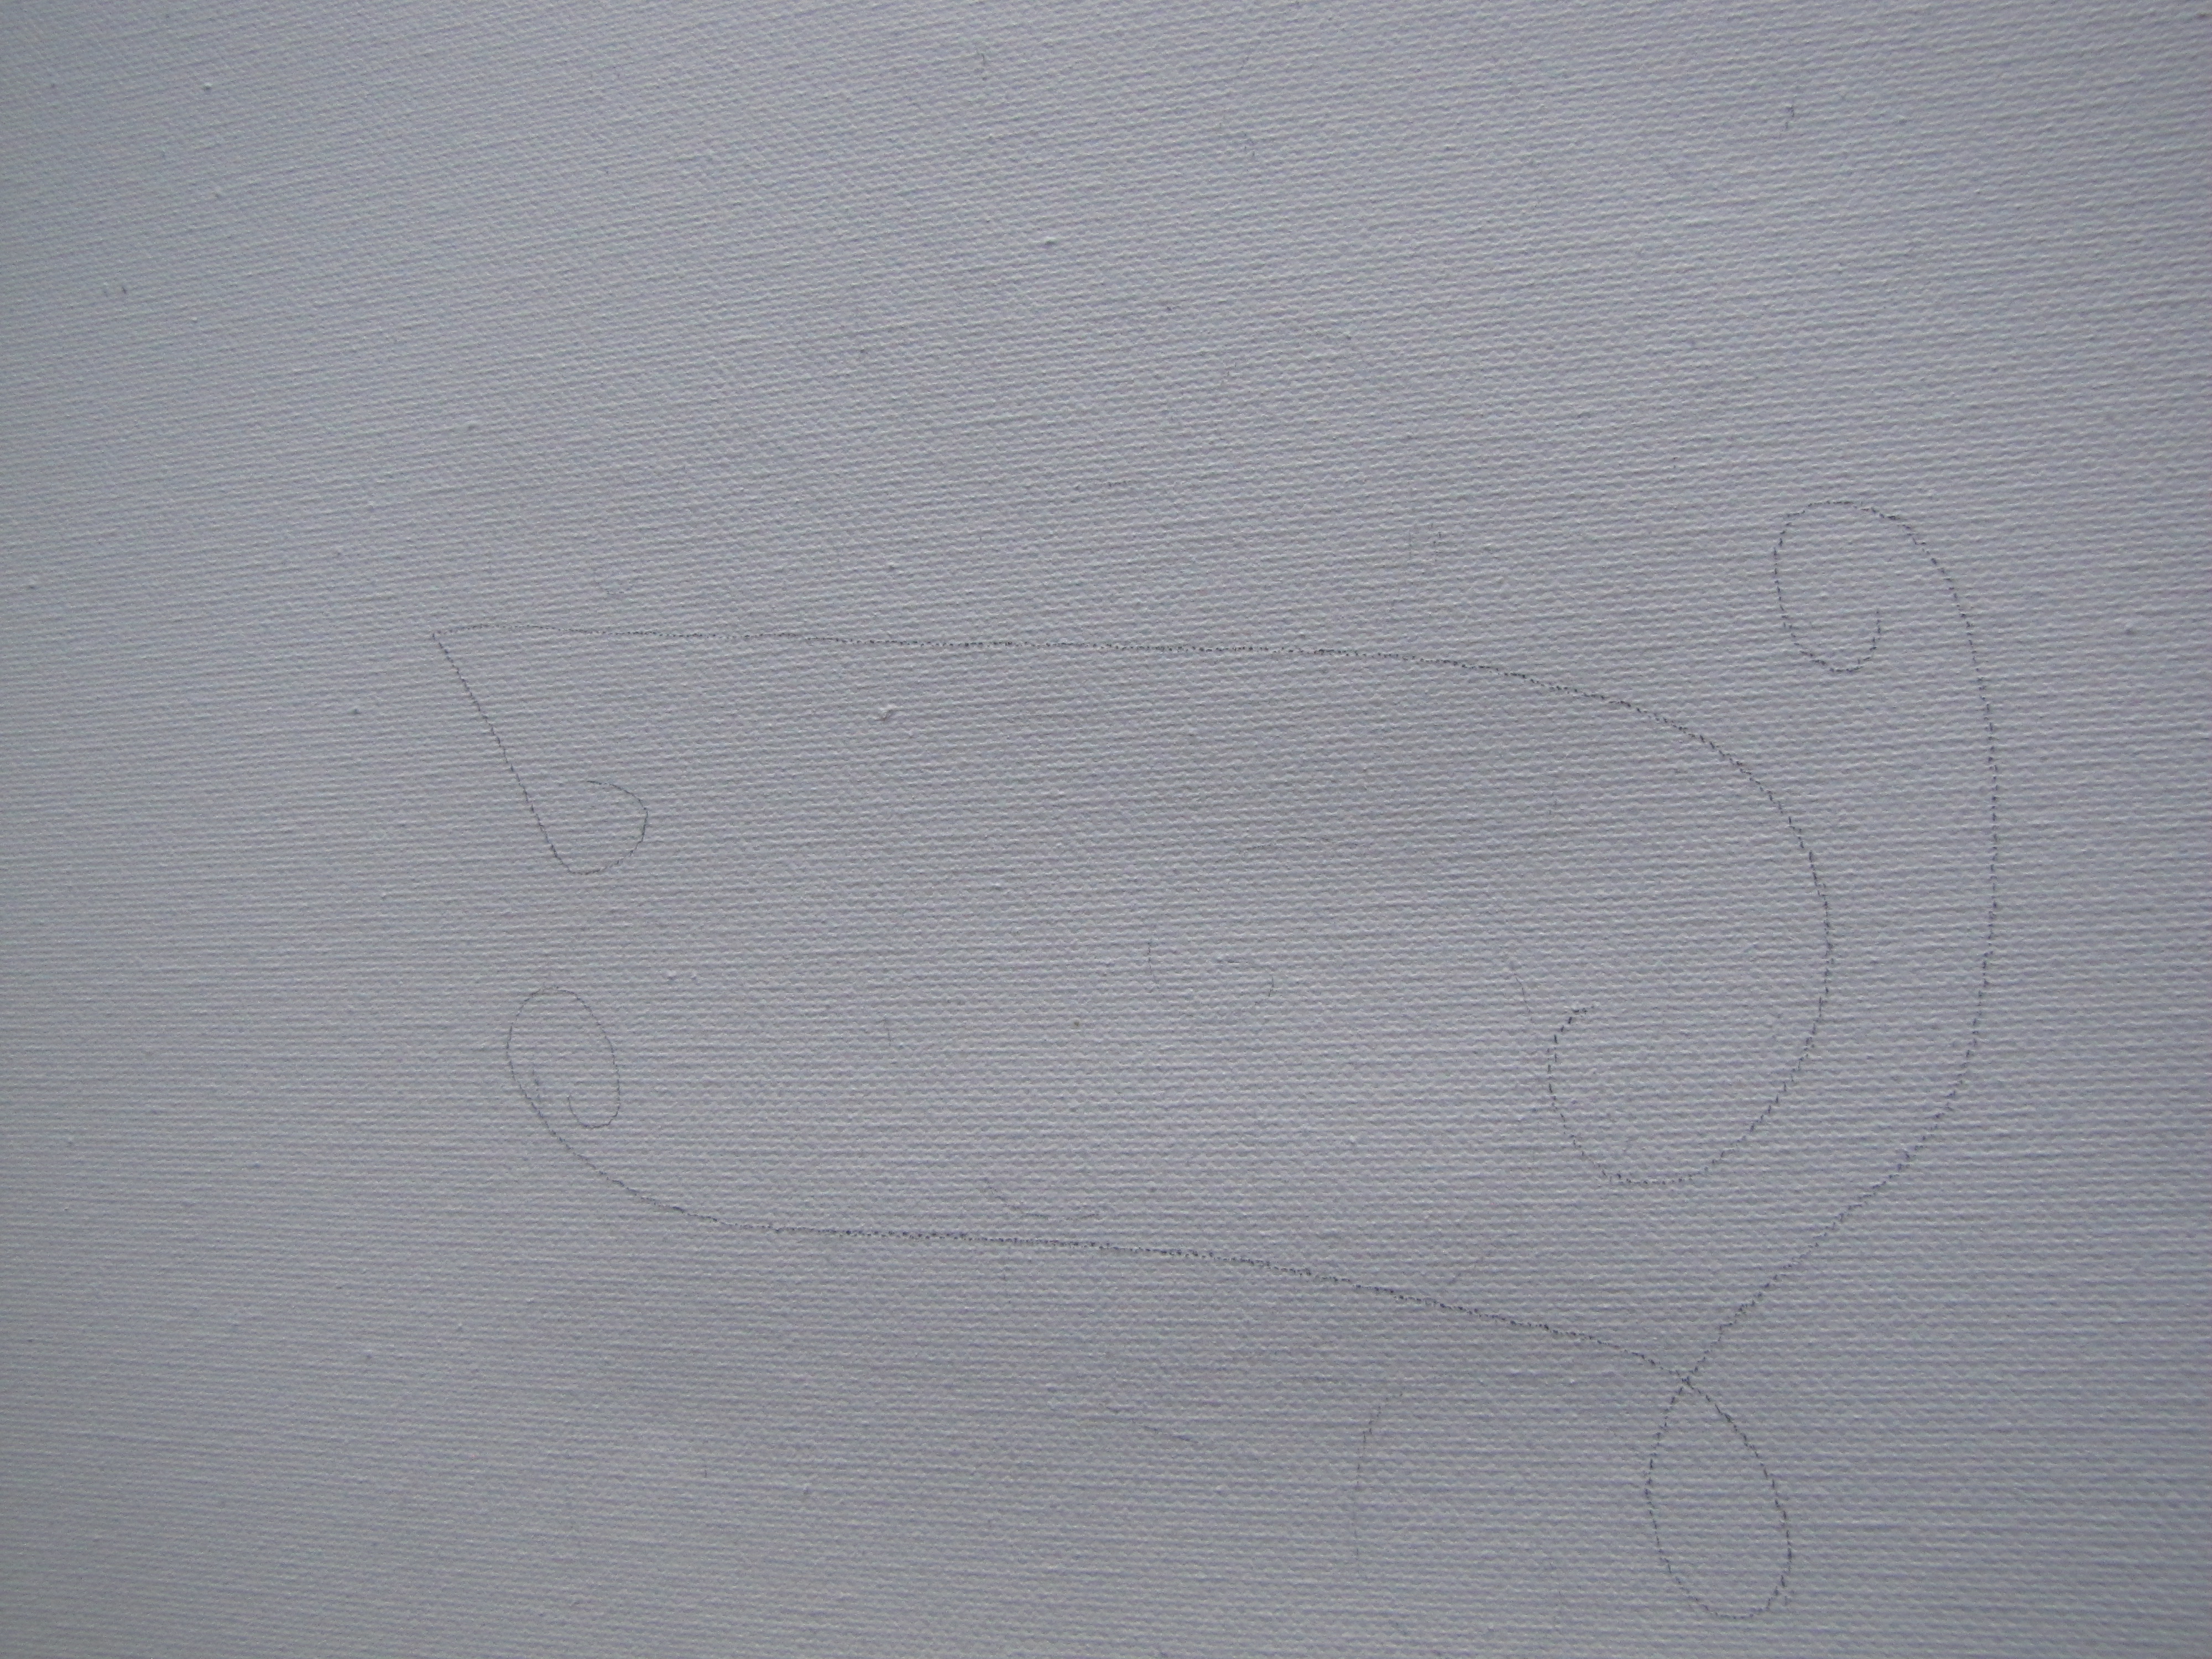
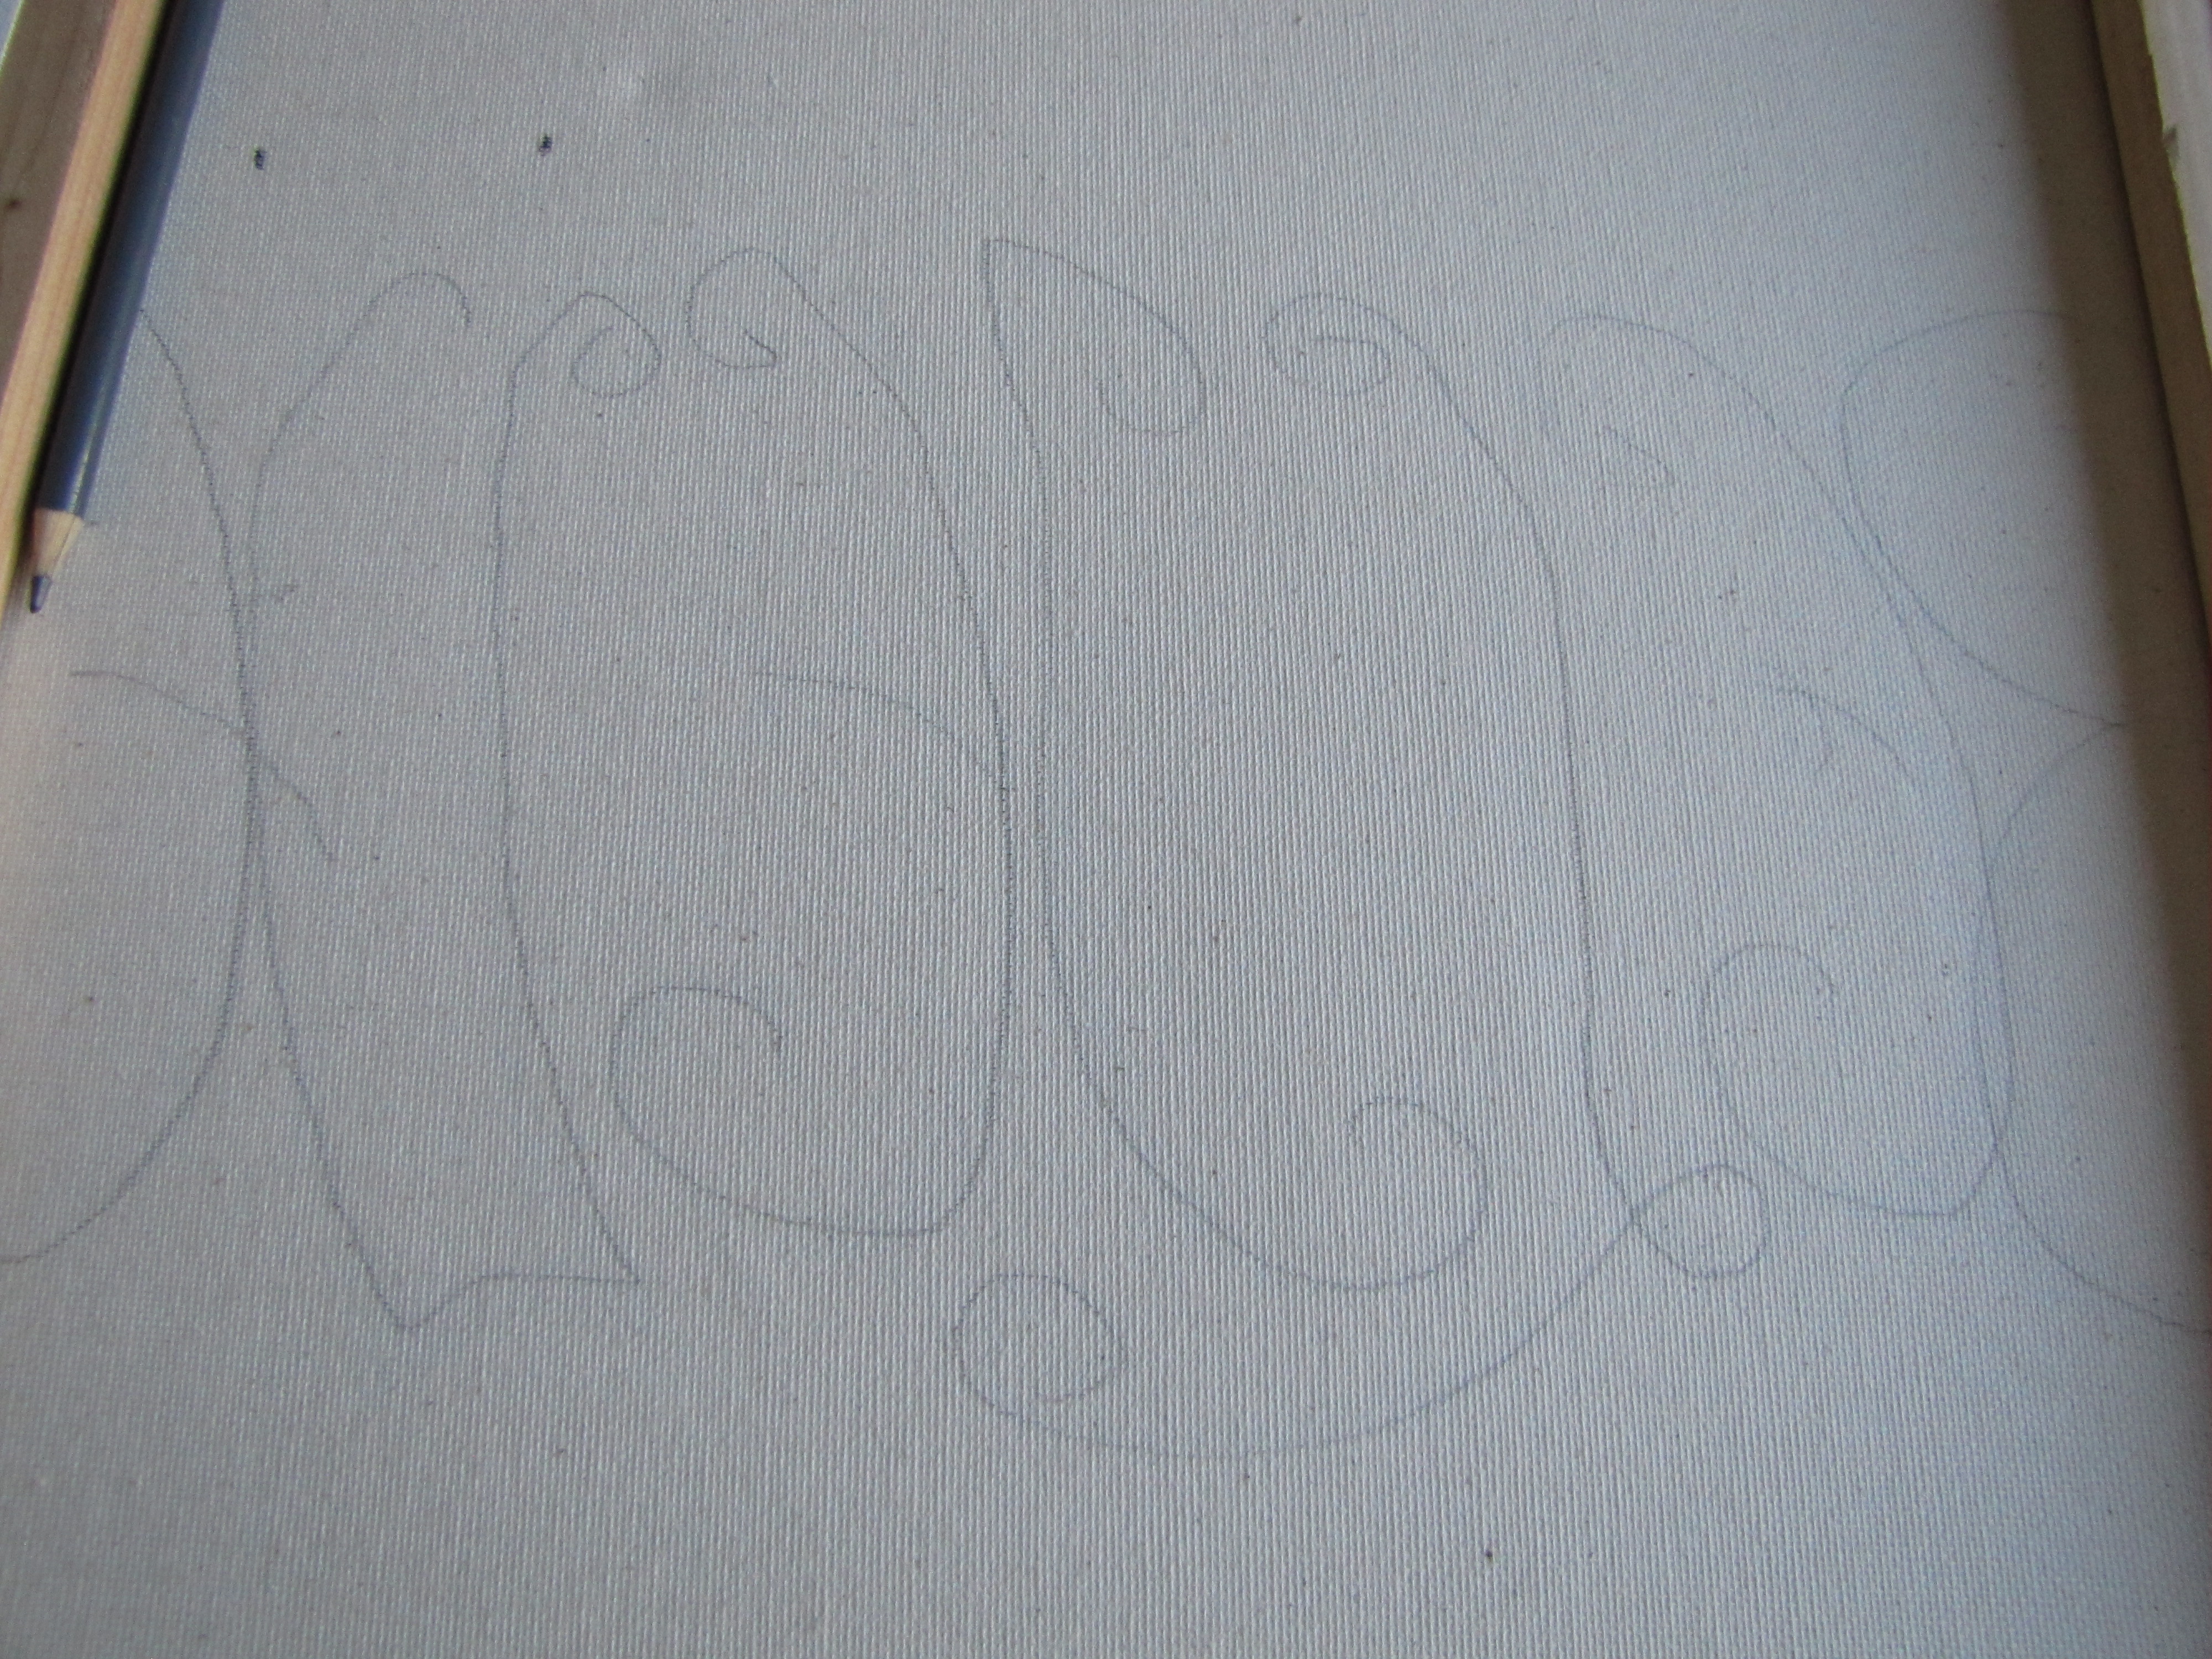
Now flip the canvas around, hold it up to the light, and do a light, rough trace of the letters so you know where NOT to place your lights.
Now you are ready for your light placement. Try to stay away from ruining the script.
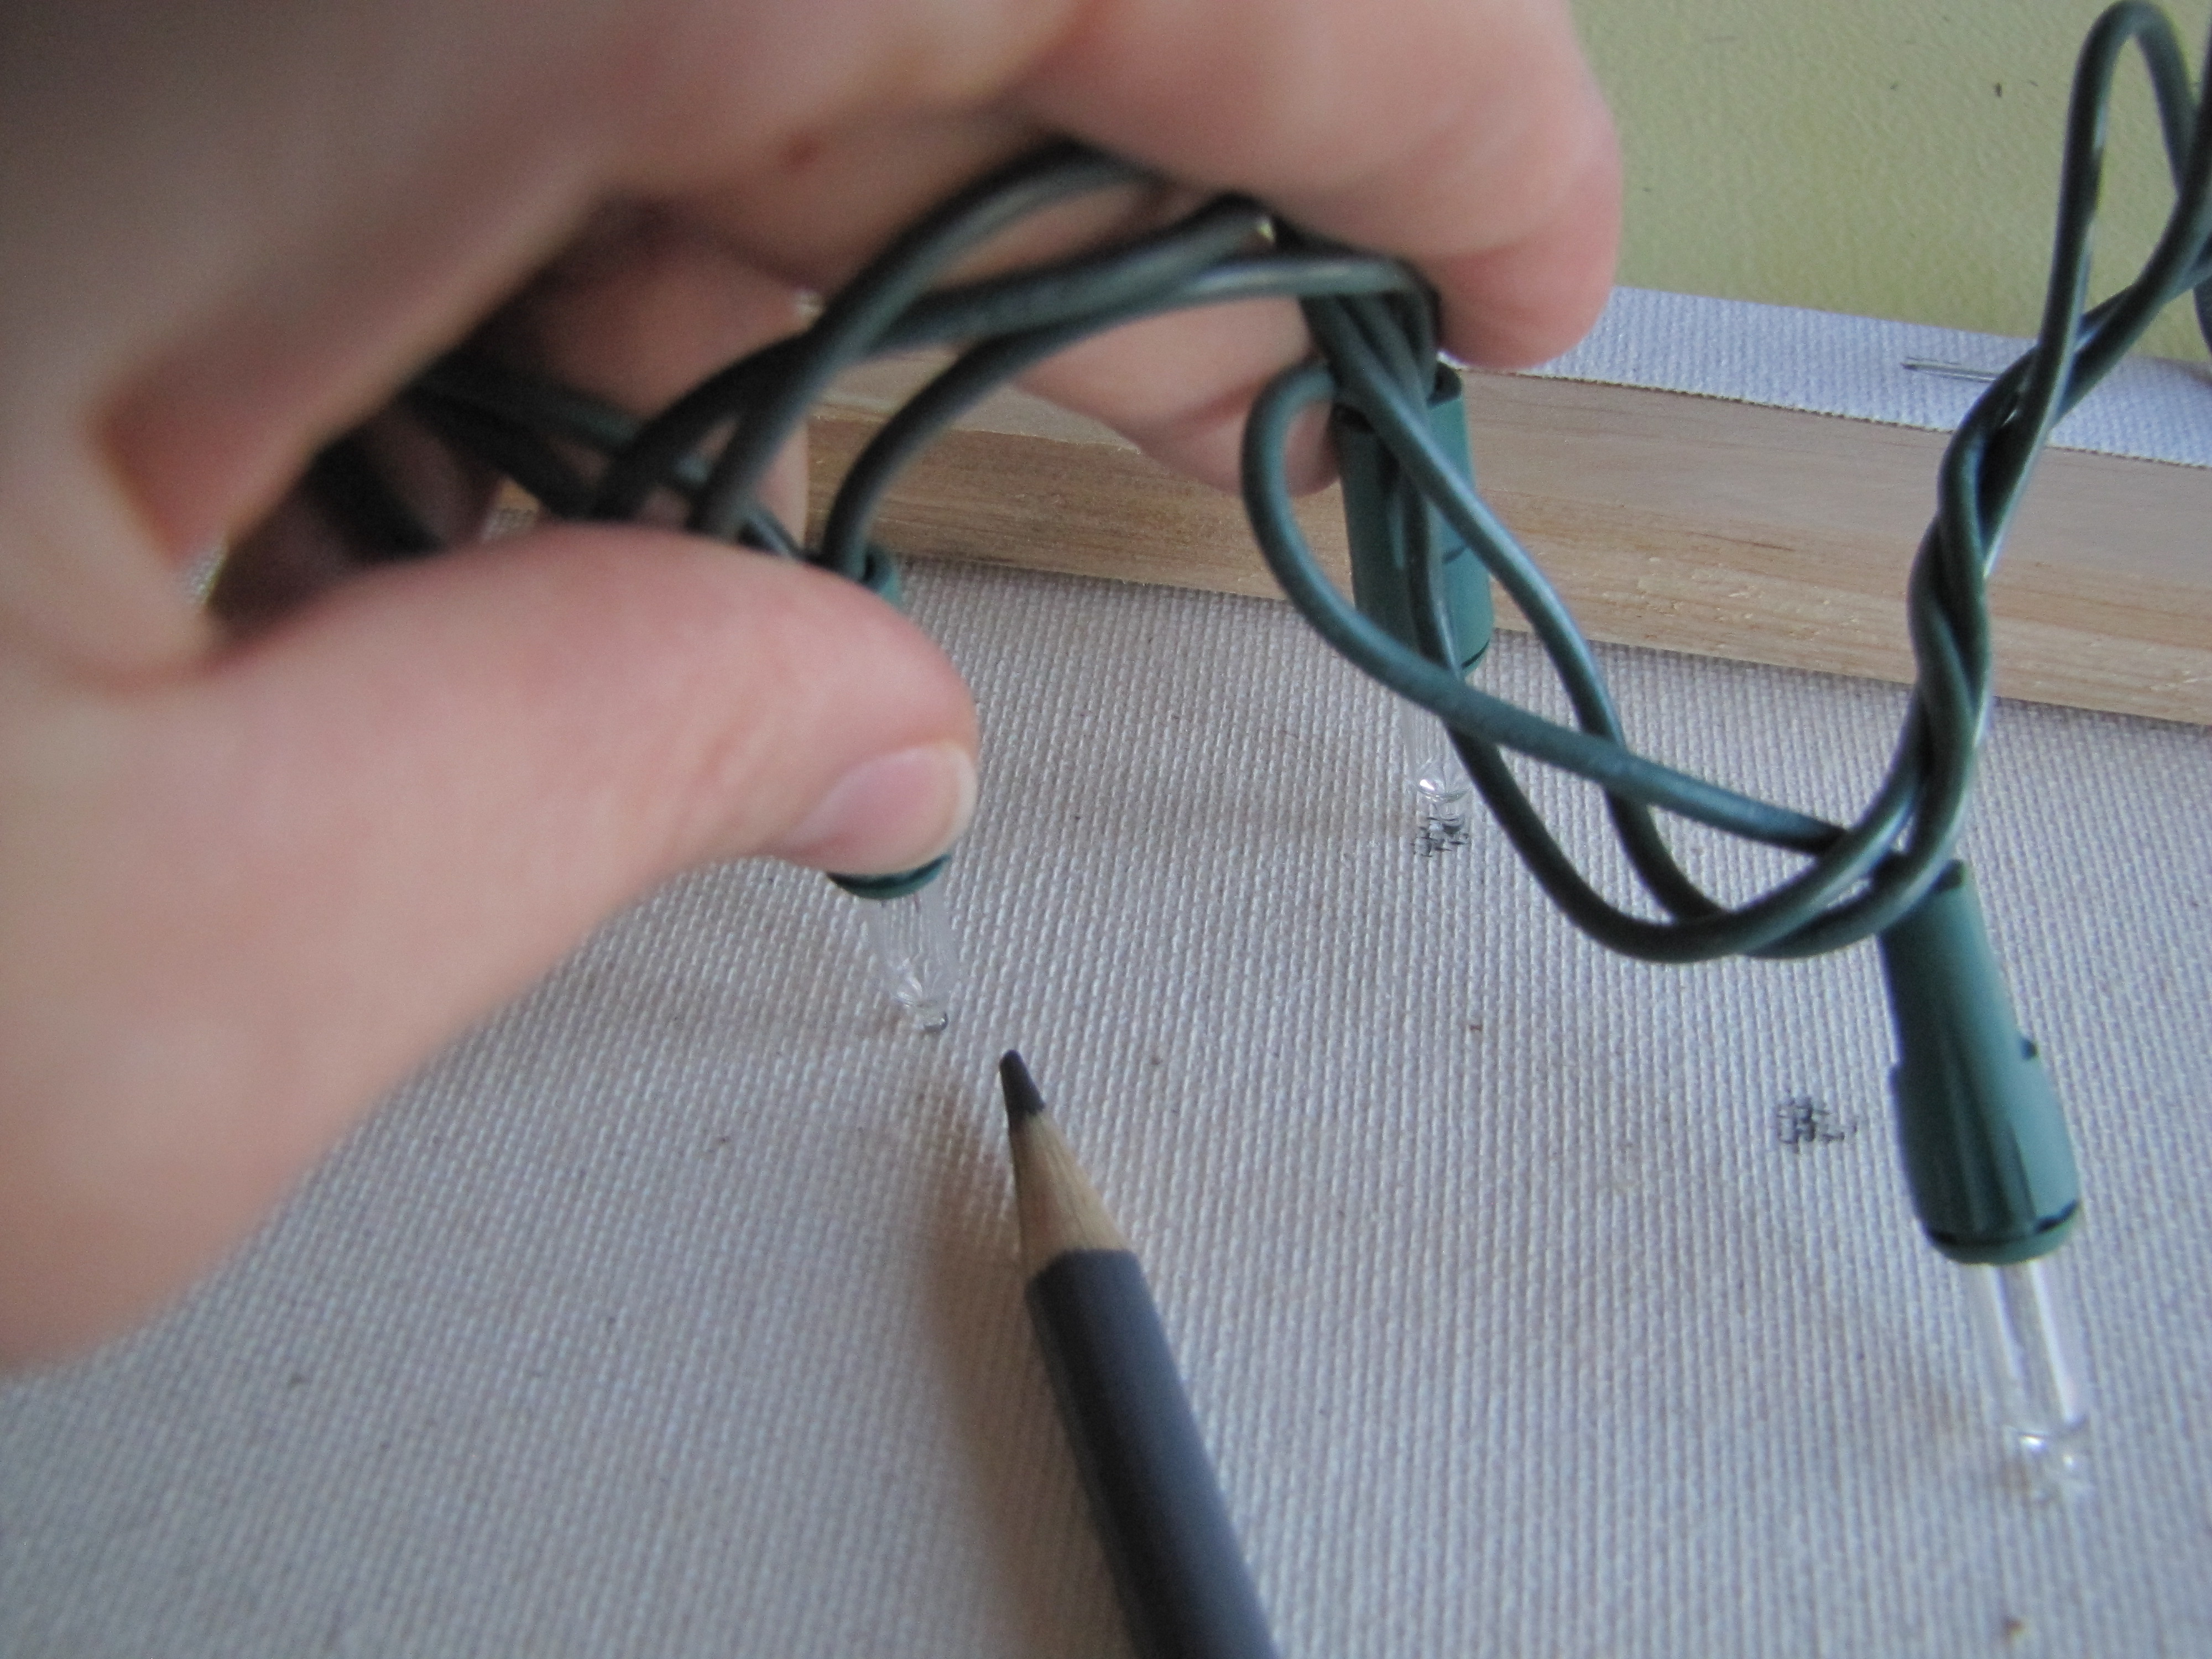
This part is a bit awkward so do it how you like, but this is the best way I found. Start up in the corner with your string of lights. Make sure your ‘plug in’ end will be at the bottom of the canvas. (Unless you want it elsewhere:) Make a small dot with your pencil in the upper corner where you will place your first light. Take your next light and place it a comfy distance from your first. Do not stretch the string of lights, or it will not fit nicely in the canvas. Jot a number at each hole so you can easily place your lights in the same hole later without trying to remember which order they fit best in.
Stagger the lights instead of going in straight rows to get a more creative look. I put some of mine in the middle of the lettering and also as close to the edge as possible to give it more ‘light coverage’.
After you have worked your way to the bottom,, take your SHARP and poke a little hole in each pencil dot.

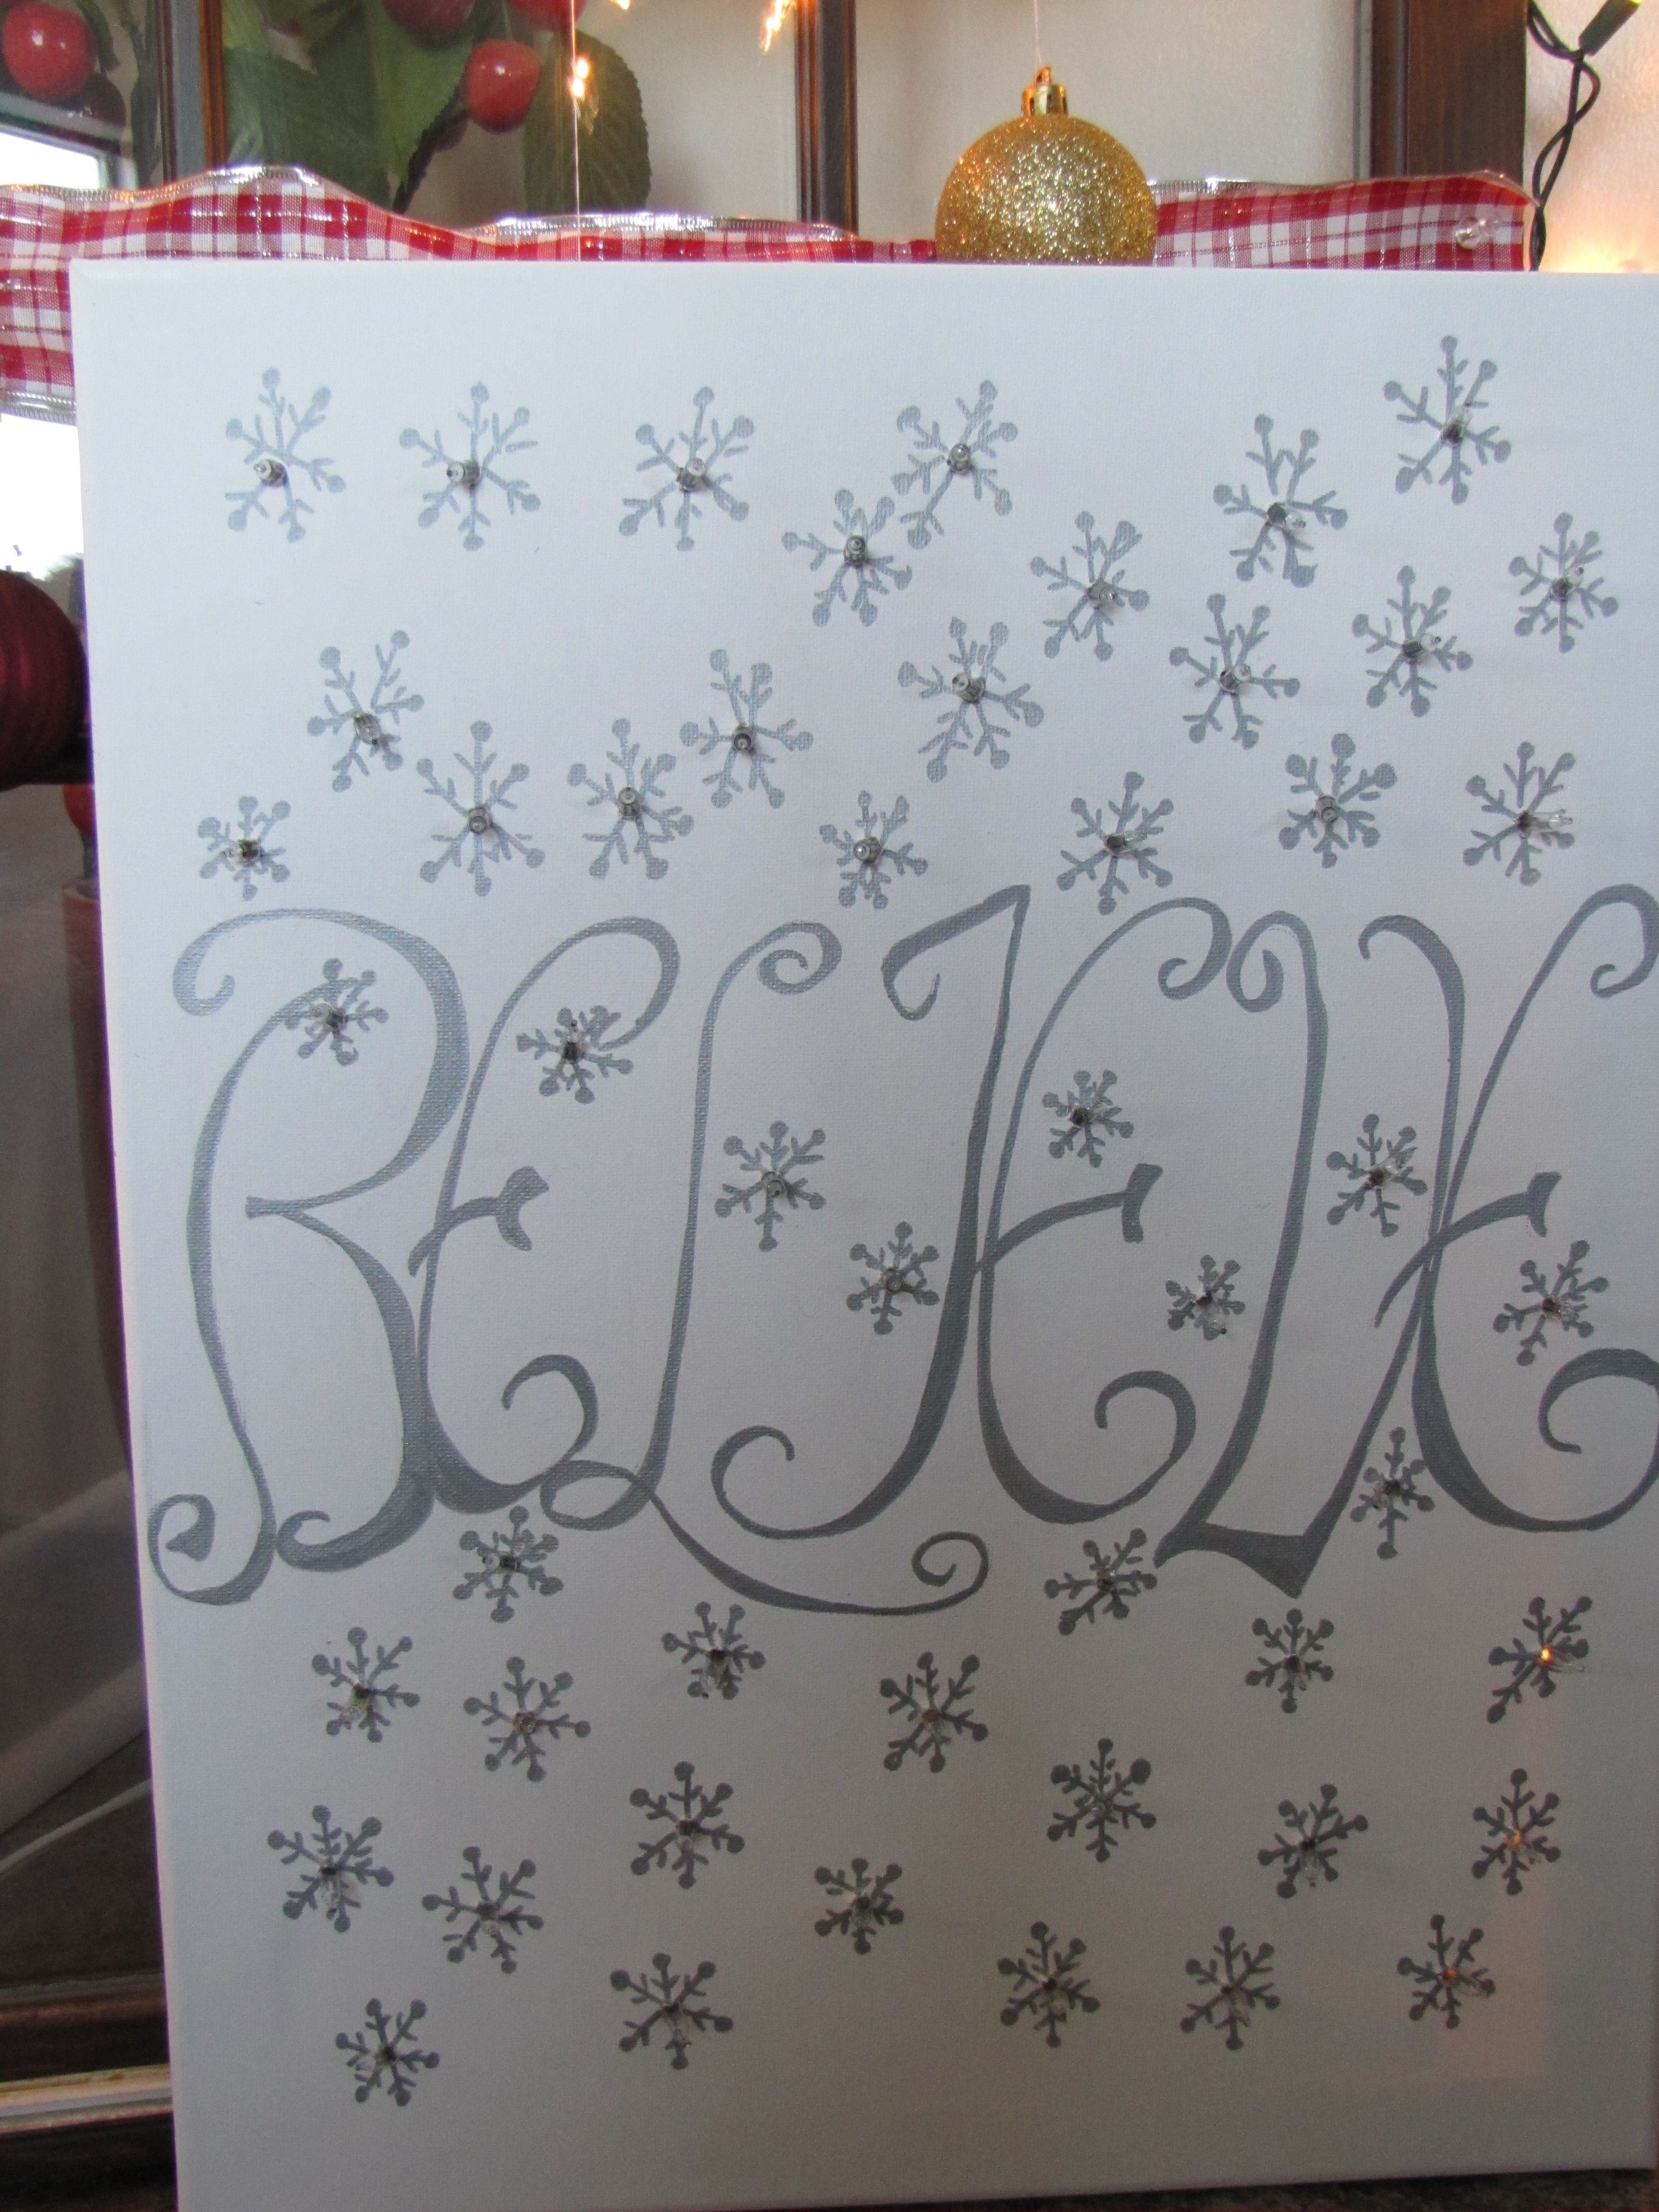
You should have 50 holes. Now flip the canvas around and draw a snowflake over each hole with your silver Sharpie.


No two snow flakes are alike, you know 🙂
Now you are ready to poke a light through each hole. If you numbered your dots this part will go much faster 🙂 Push each light through it’s hole. It should look something like this when you are done.

I like to use my hot glue gun and glue each light into place so it doesn’t pull on the canvas, and it STAYS where it should. I had no problem with my glue melting later when I turned the lights on, just in case you wondered…like me 🙂
And here you’ve got the front…
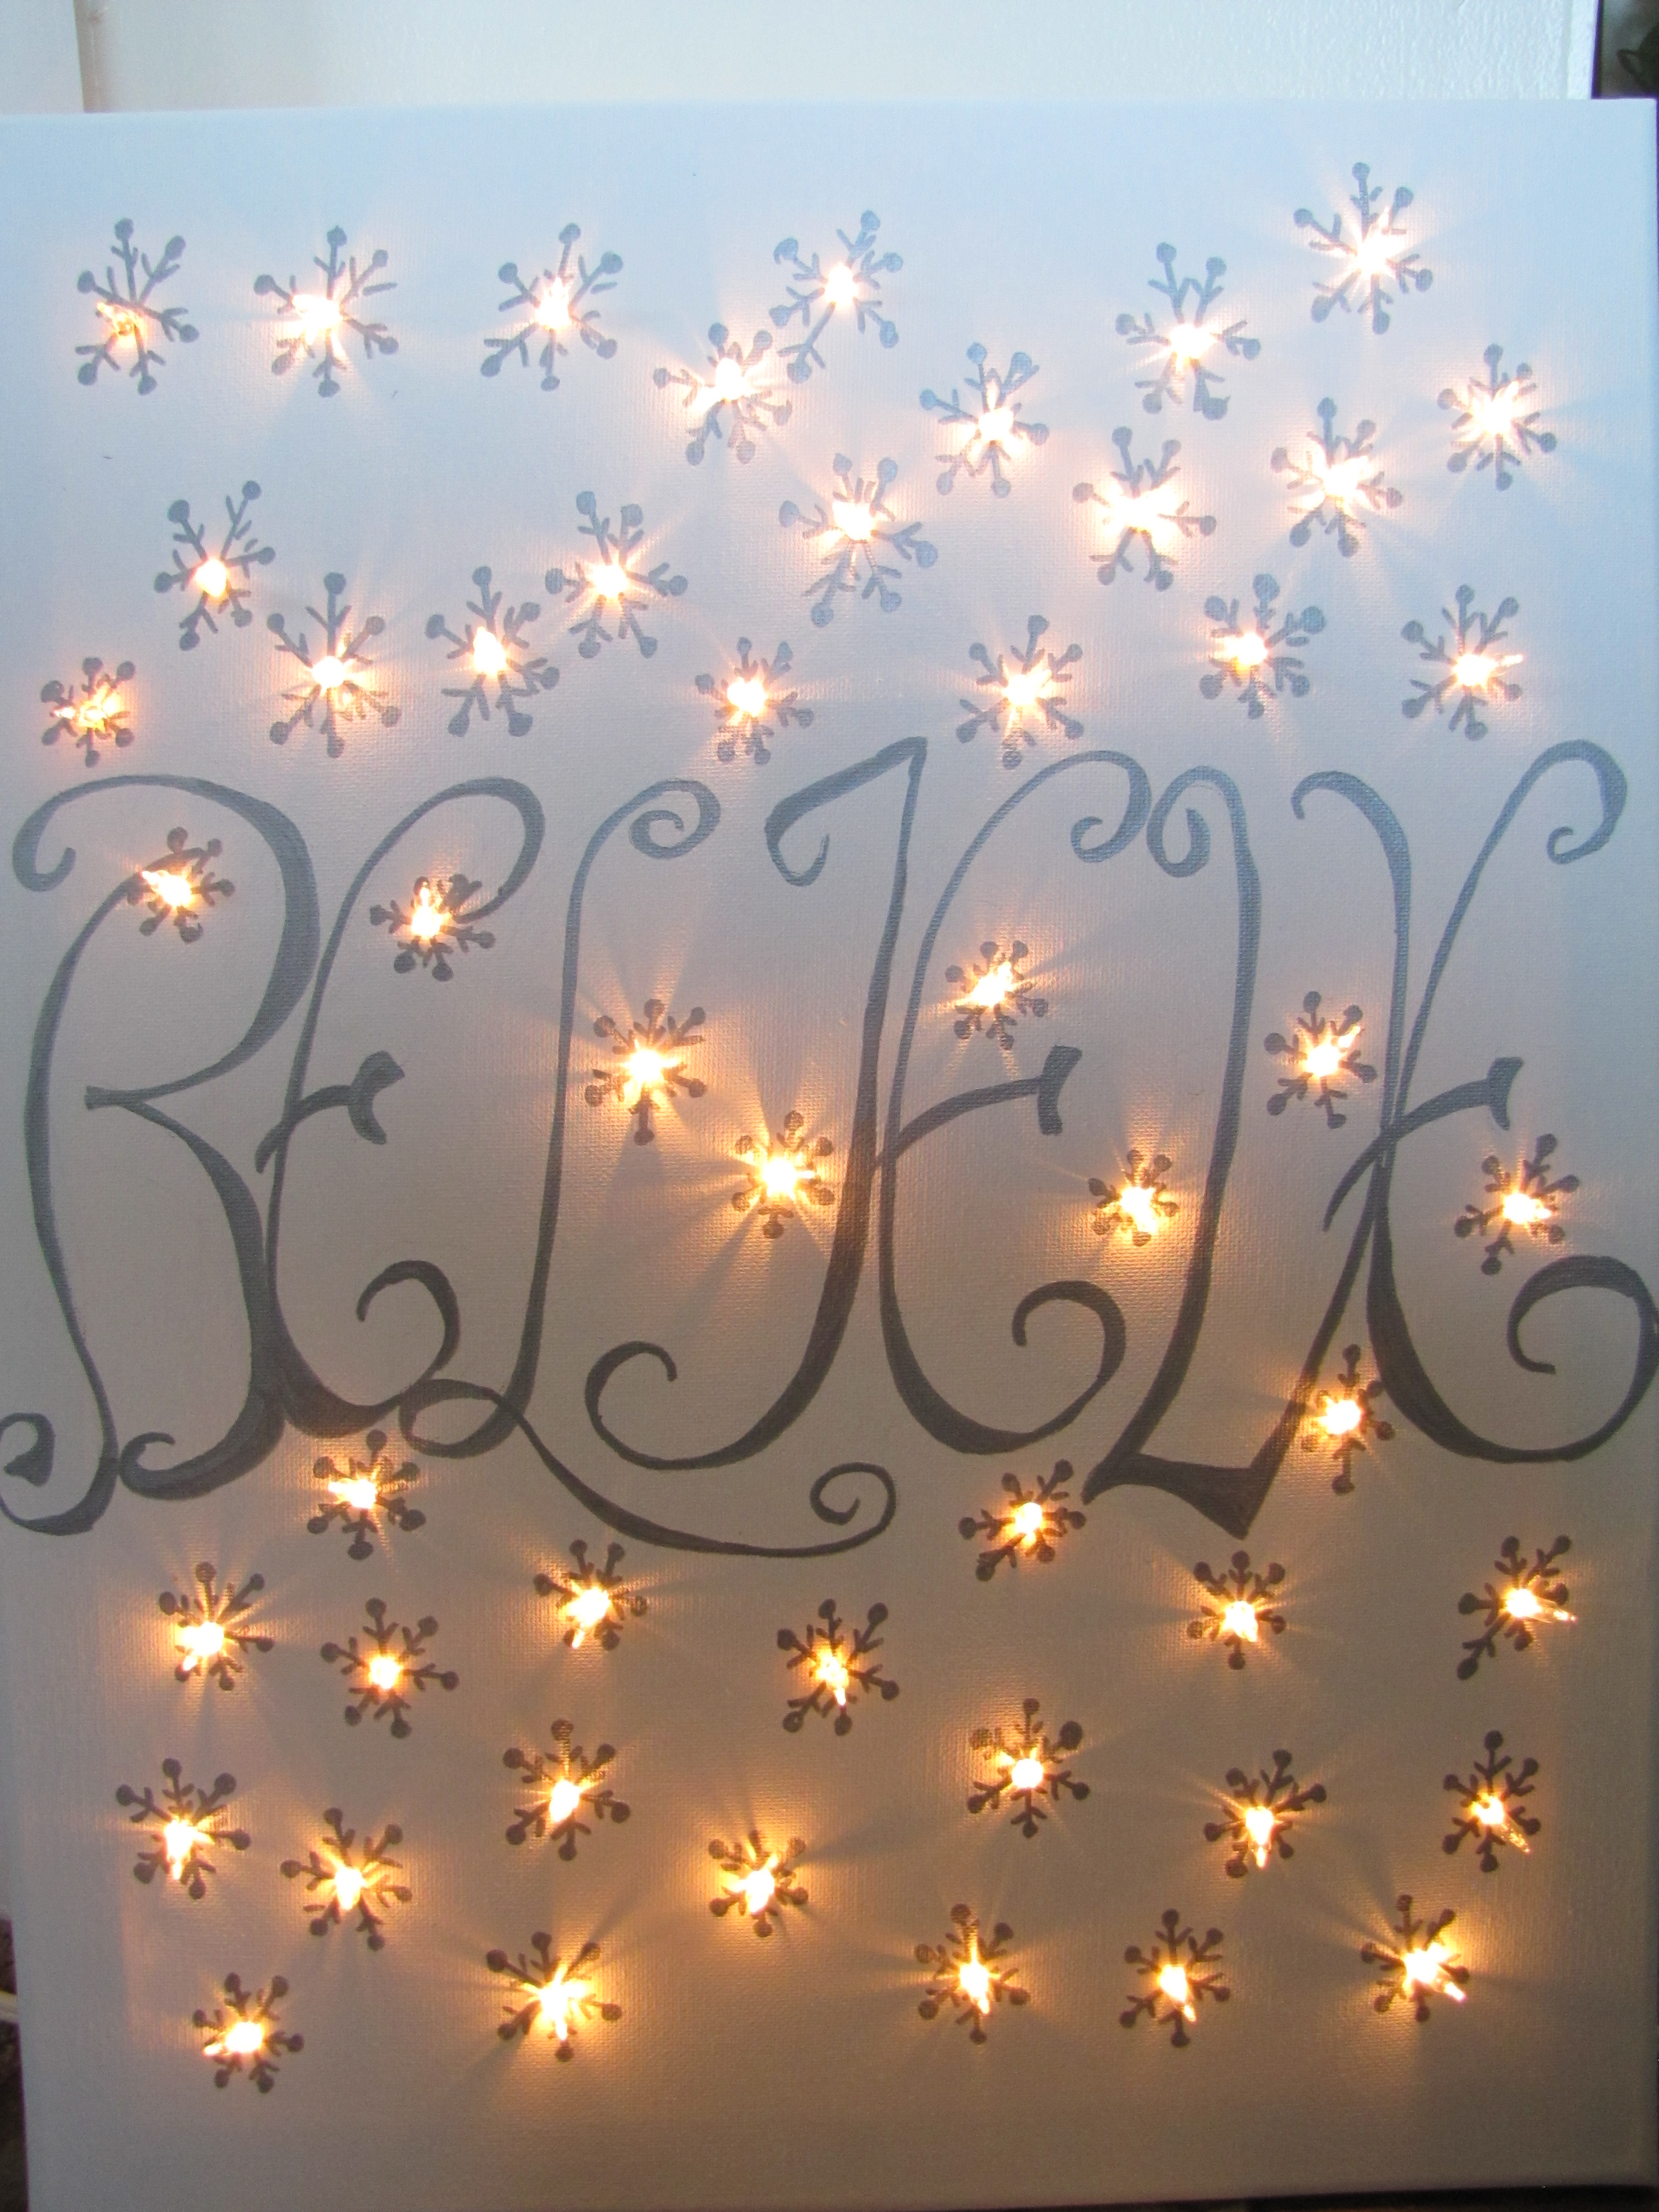
and lit up…

and up close 🙂
Happy crafting!
This was one of my favorite projects. EVER!!! 🙂
I’d love to see a photo of yours!

Beautiful!!!
LikeLike