Recipes

Simple Strawberry N Cream Filled Crepes

To those of you who requested the crepe recipe. This post is especially for you. I am totally NOT a professional crepe expert, but I absolutely LOVE them, and making them is fun because they act different then any other kind of food. They are just so…crepey.

20140320-065656.jpg

So with no more ado…pull out your mixing bowl and nonstick skillet and let the fun begin.

1 1/2 cups milk
3 eggs
1/2 tsp. vanilla or lemon flavoring
2 T. melted butter
1 1/4 cups flour
1 T. Sugar
Pinch of salt

Mix all your ingredients together very well.

It works best to throw them into the blender so they get perfectly smooth, but since my blender is too difficult to unearth, I use an electric hand mixer.

Technically, you are suppose to refrigerate the batter for an hour, but I usually don’t have enough patience.

Heat your nonstick skillet (8 in. works great) over medium heat. Lightly grease it for the first crepe and occasionally while you fry up the rest.

Pour approx. 2 T. of batter into the center of the pan and quickly tilt the pan so it runs all over, evenly coating the bottom of your skillet.
I usually just do this by trial and error. Dash a pour of batter in, and keep in mind that the thinner your crepe, the better. You want enough batter to sufficiently cover the skillet without cracks and holes peeking through.

Cook until the top of your crepe appears dry and you can run a thin spatula ( I use a flexible, plastic frosting knife) under the crepe without breaking it. Flip the crepe over and cook 20 seconds or so longer.

Flip out onto wire rack…or plate. Allow to cool.
And yes, I always put mine in the fridge because I just can’t wait to eat them:)

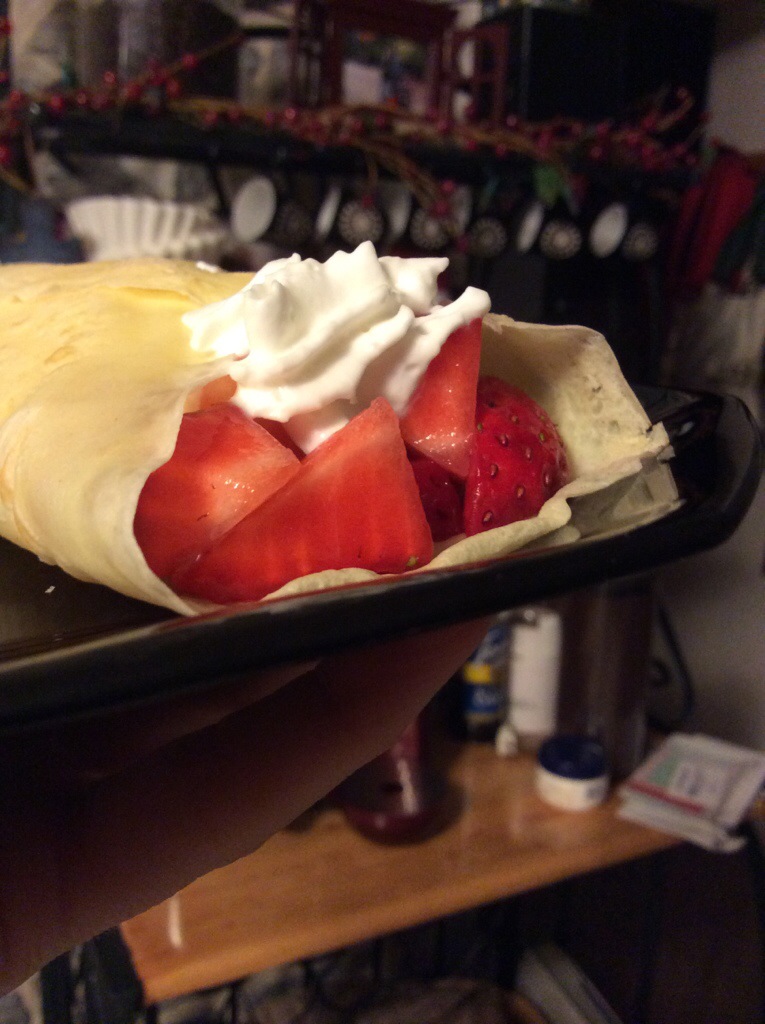
When the crepes are cool, fill them with whipped cream and slices of sweet strawberries. I LOVE heavy whipping cream, beat to a lovely stiffness, but since I don’t always have it on hand, I improvise with bottled whip cream sometimes.

Oh! And if your first crepes don’t turn out, no worries! Crepe Scraps are even yummy! Who says they have to be perfectly round? πŸ™‚
Keep trying…it WILL be worth it!

20140320-072639.jpg

20140320-072754.jpg

DIY Projects · Kid's Fun

The Festive Scarecrow

We needed some autumn colors in our house. Some country mood. Some crafty project. So we broke out the crate of scrap paper from behind the bed. (it’s no wonder it kinda collects dust bunnies since it’s a stand on your head, stretch your ribs, blood rush to your face kind of Β dive to haul it out!)

I had seen an idea to create your own scarecrows with old Pringles cans on a web sight recently. Since I didn’t have the patience to go find it again, I gathered supplies we had in our house and relied on my memory and imagination. We spread out on the living room floor under the furiously whirling ceiling fan and picked out bright sheets of paper. I love doing crafts with my kids, but their attention span seems a nanosecond. Maybe that’s a slight stretch since a nanosecond is actually only 1 billionth of a second, but you get the idea… sometimes it feels that way!

004

Out of the tearing paper and ‘It’s OK, Kierra, just relax.’ and the ‘Kobe! Do not play with glue’…

These little guys emerged. I was slapping them together at the end, so I’m sure if you have creative kids and more time and concentration, yours could evolve quite a bit more handsomely πŸ™‚

036 037 038


1. Use an empty Pringles can for the body. (we used an empty powered drink tube)

2. Cut paper (or fabric) into strips and glue around the can to create the body.

3. Use burlap fabric scraps or torn paper scraps to patch the clothes.

4. Add a mouth, nose, and eyes.

5. Add suspenders or buttons or both.

6. Crumple a wad of paper and tape it to the lid of the can.

7. Cut a big round circle of paper (or felt or burlap) for the hat.

8. Cover the lid (including the paper wad πŸ™‚ with the round paper and secure it with a piece of string. Trim off any excess hat paper and turn up the edges a bit to create a brim.

9. Use long strips of paper for the arms. Fold a small tab over on one end of the strip. Glue it to the side of the body. Then let the ‘arm’ hang down over the tab. I put a few folds in one guy’s arm to add some wiggle.

Enjoy your festive scarecrows! πŸ™‚

Hint: (I’d love to see what your kids create πŸ™‚